Skip navigation
id="trbo-above-first-editorial"

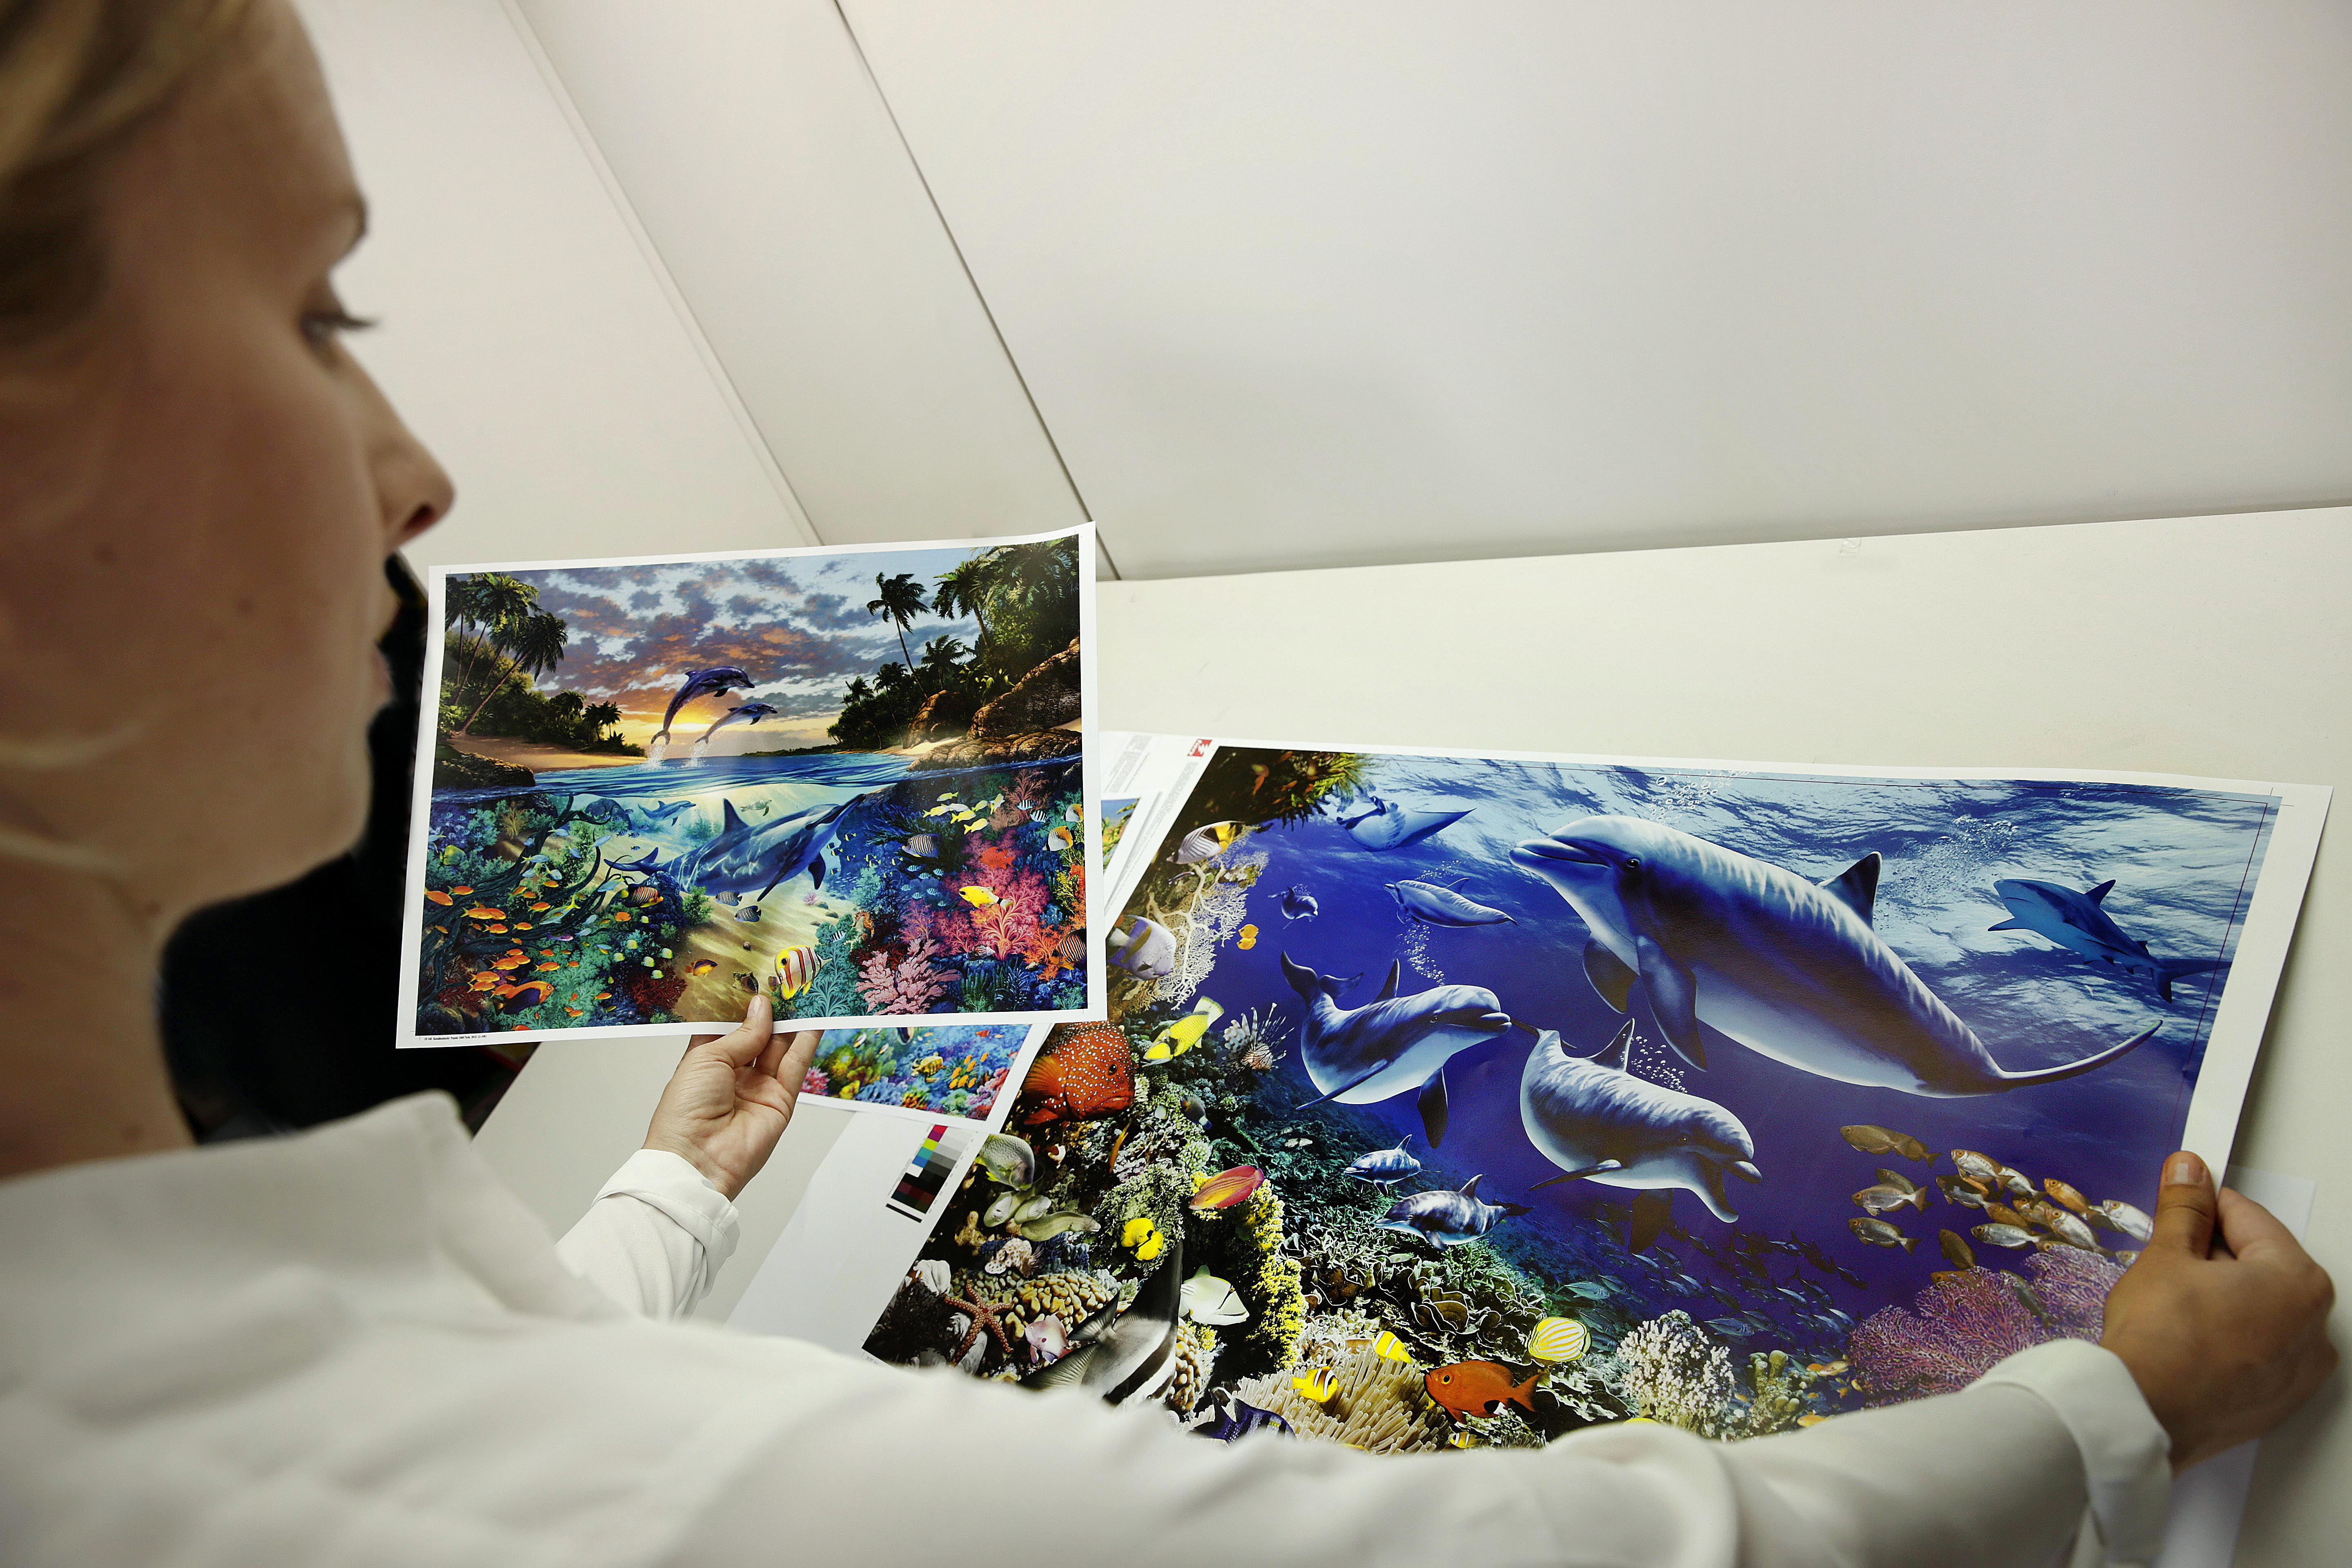
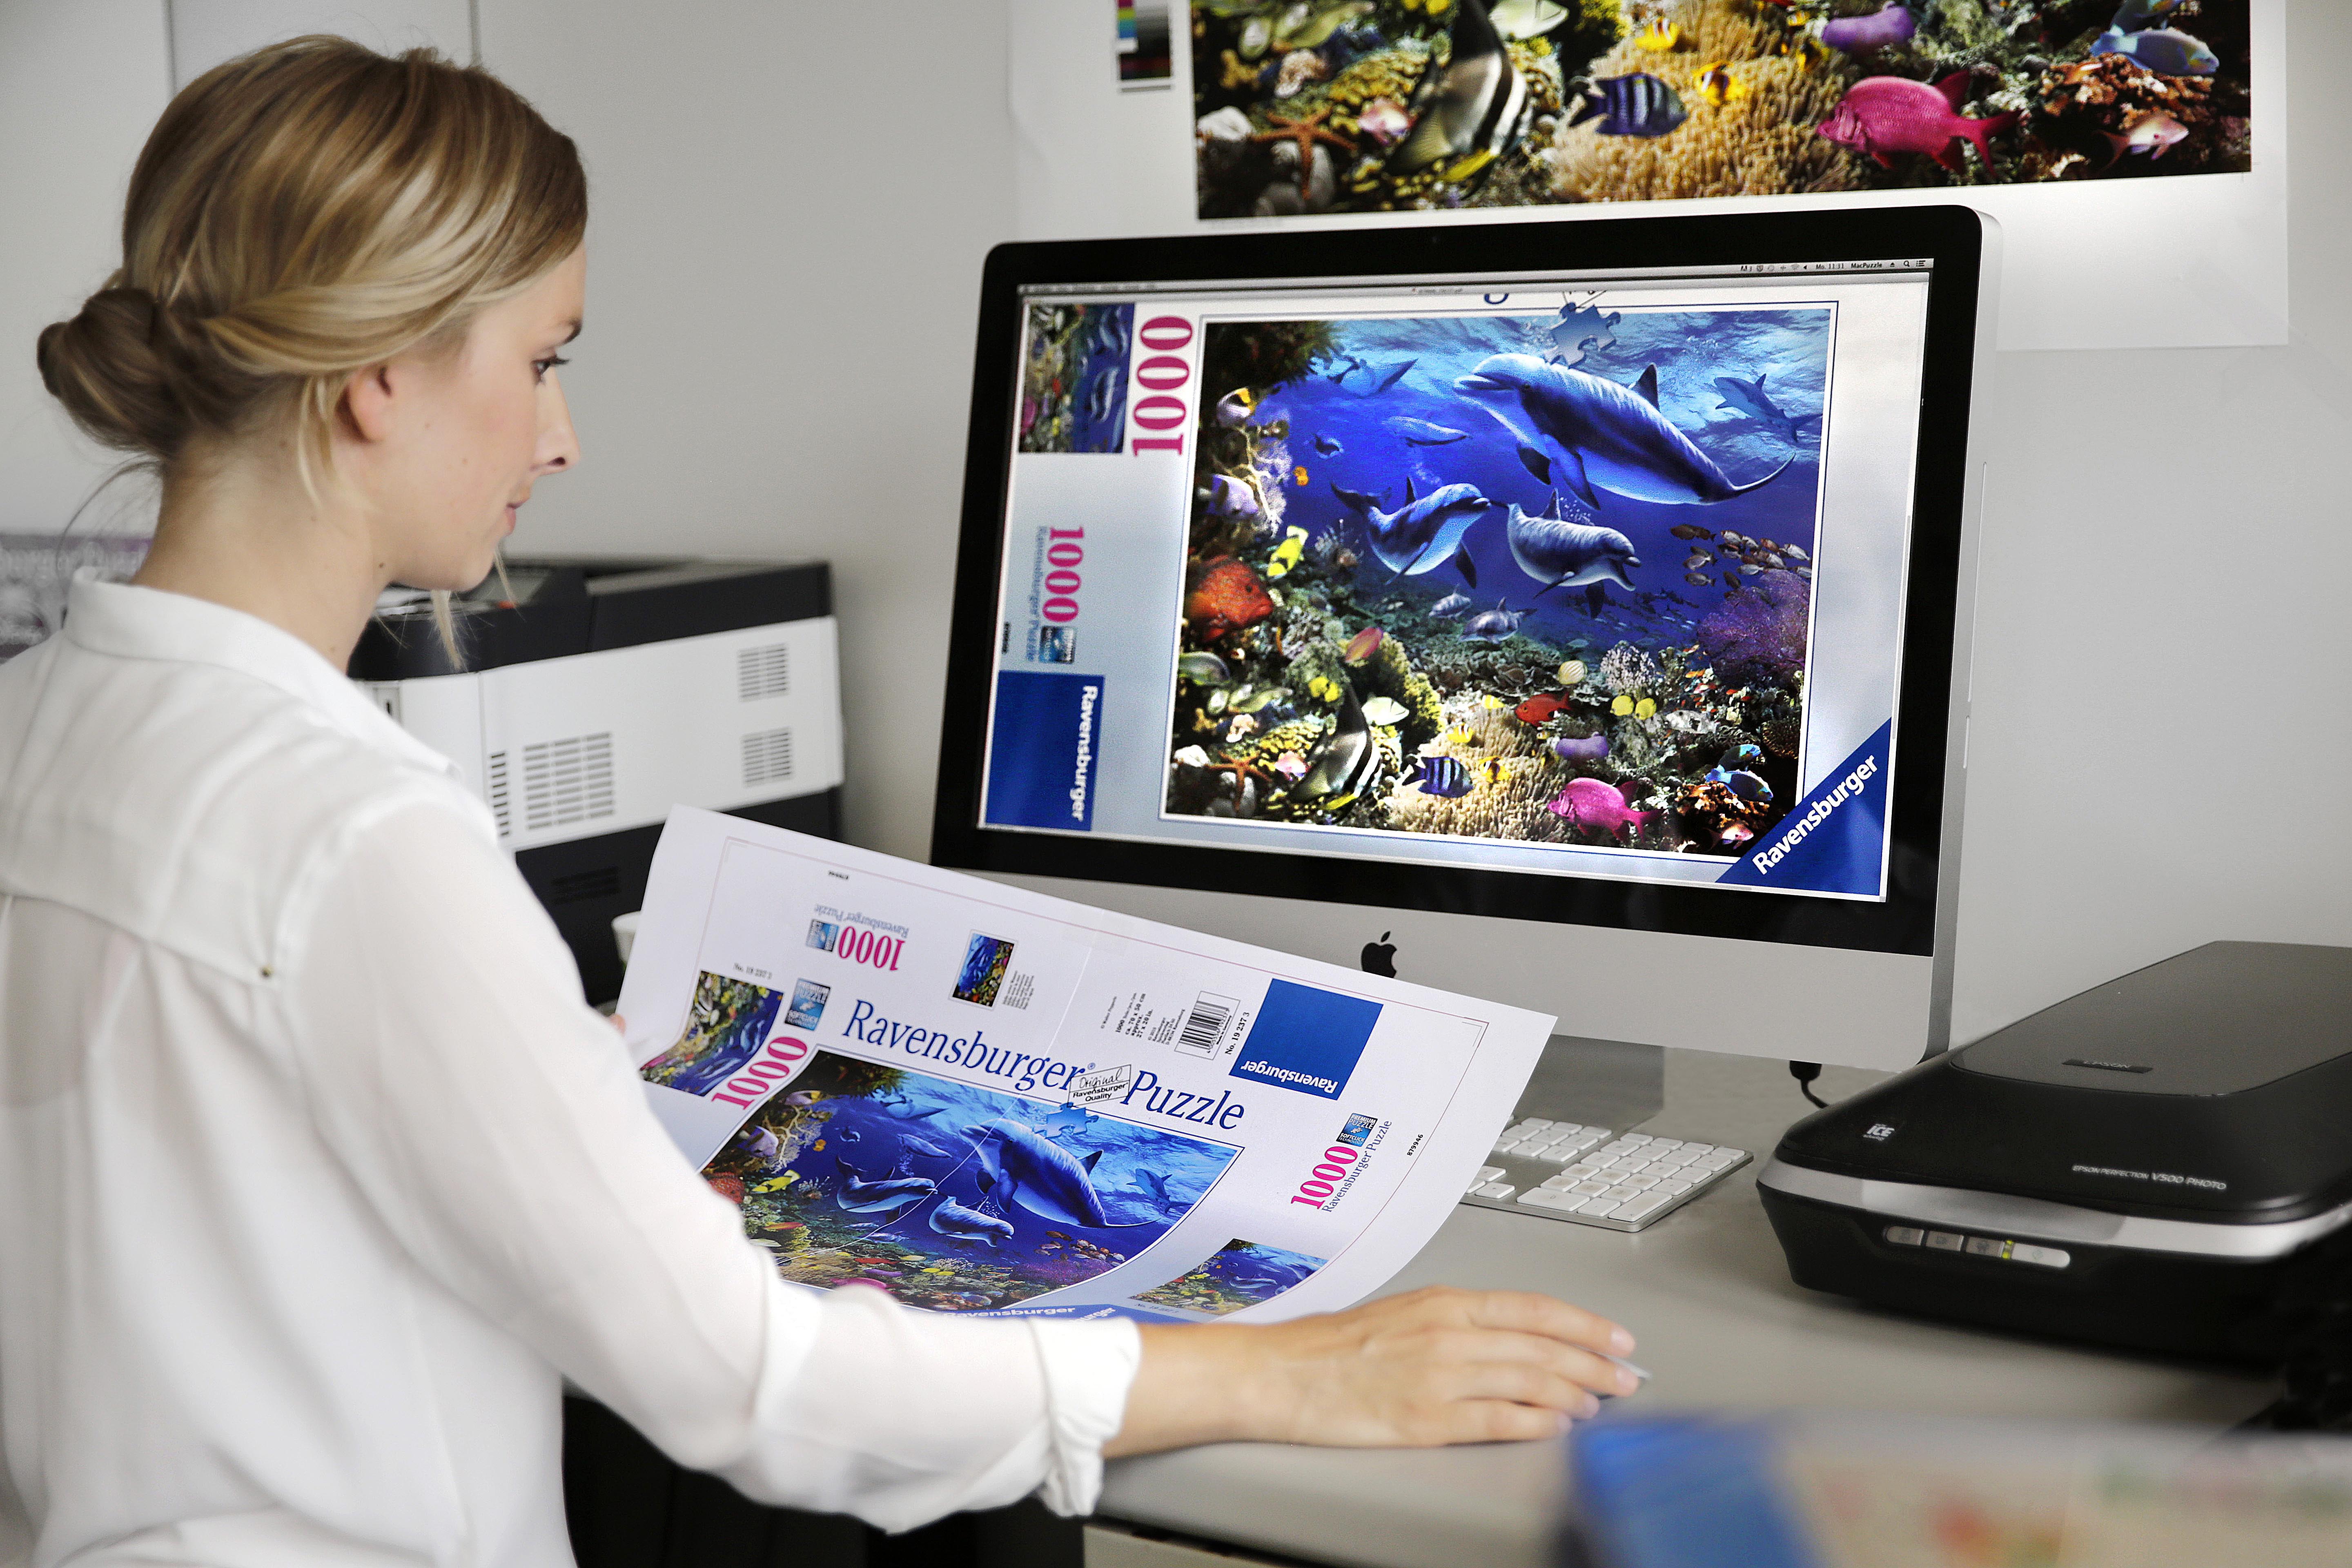
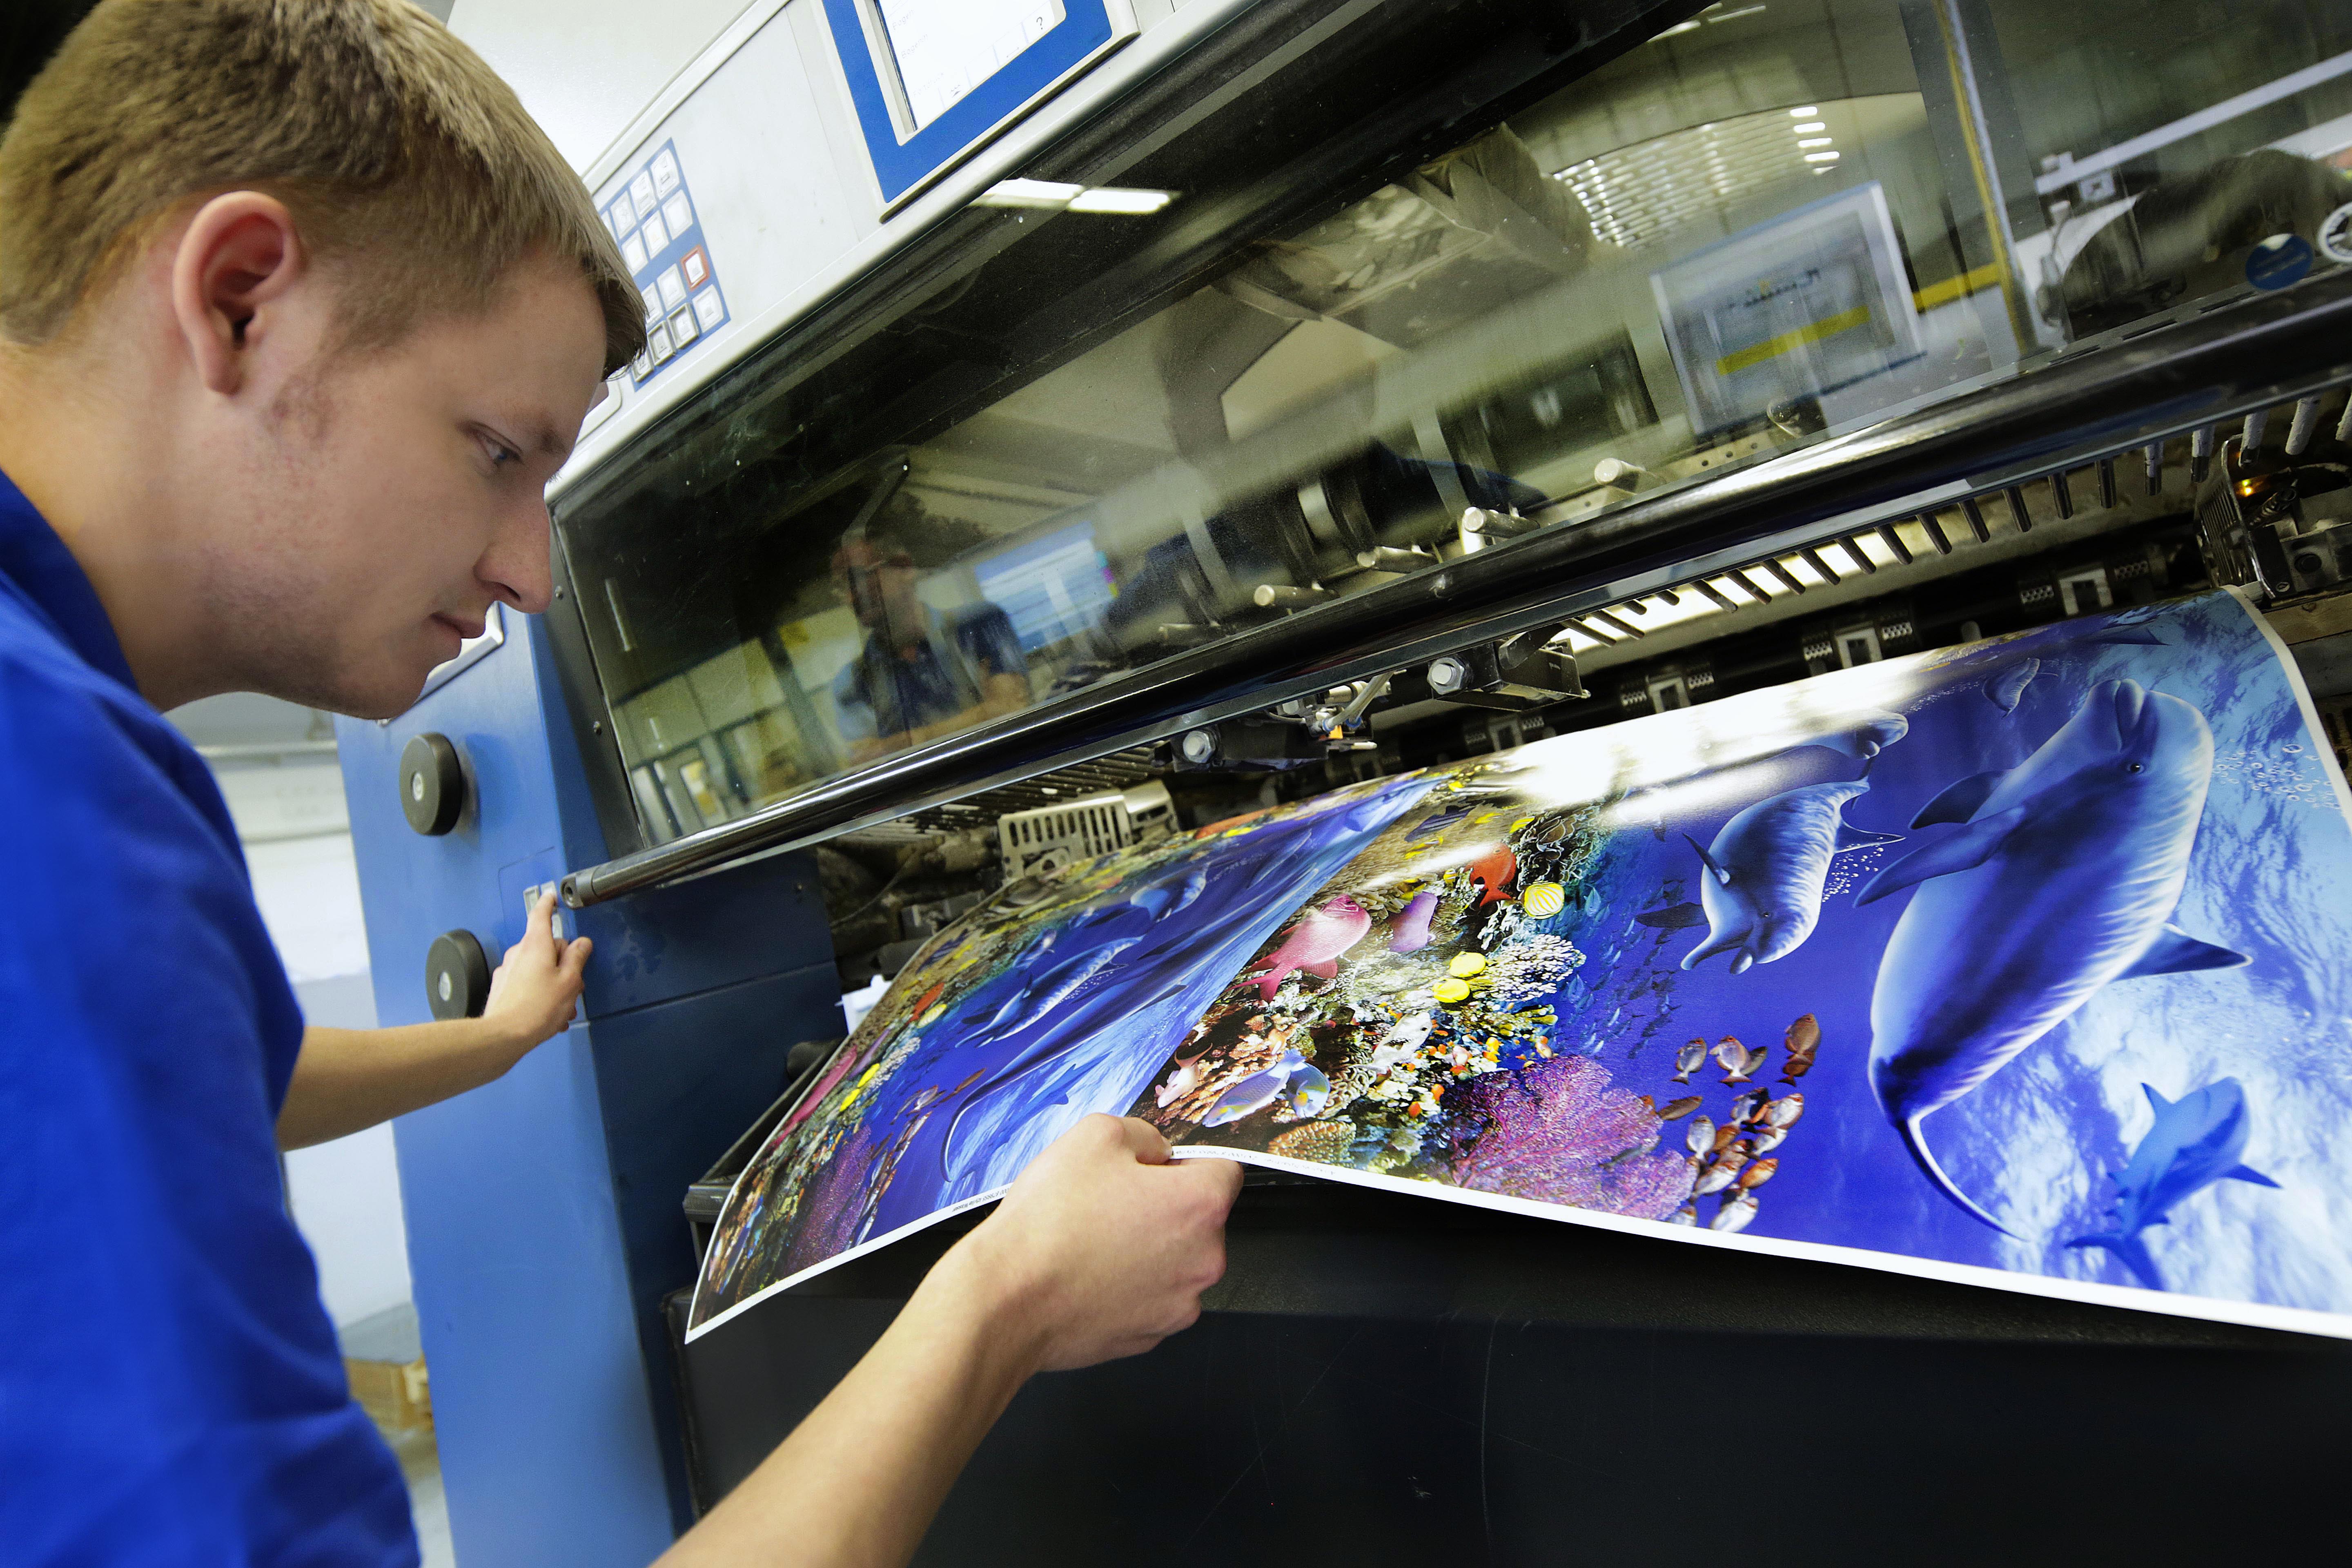
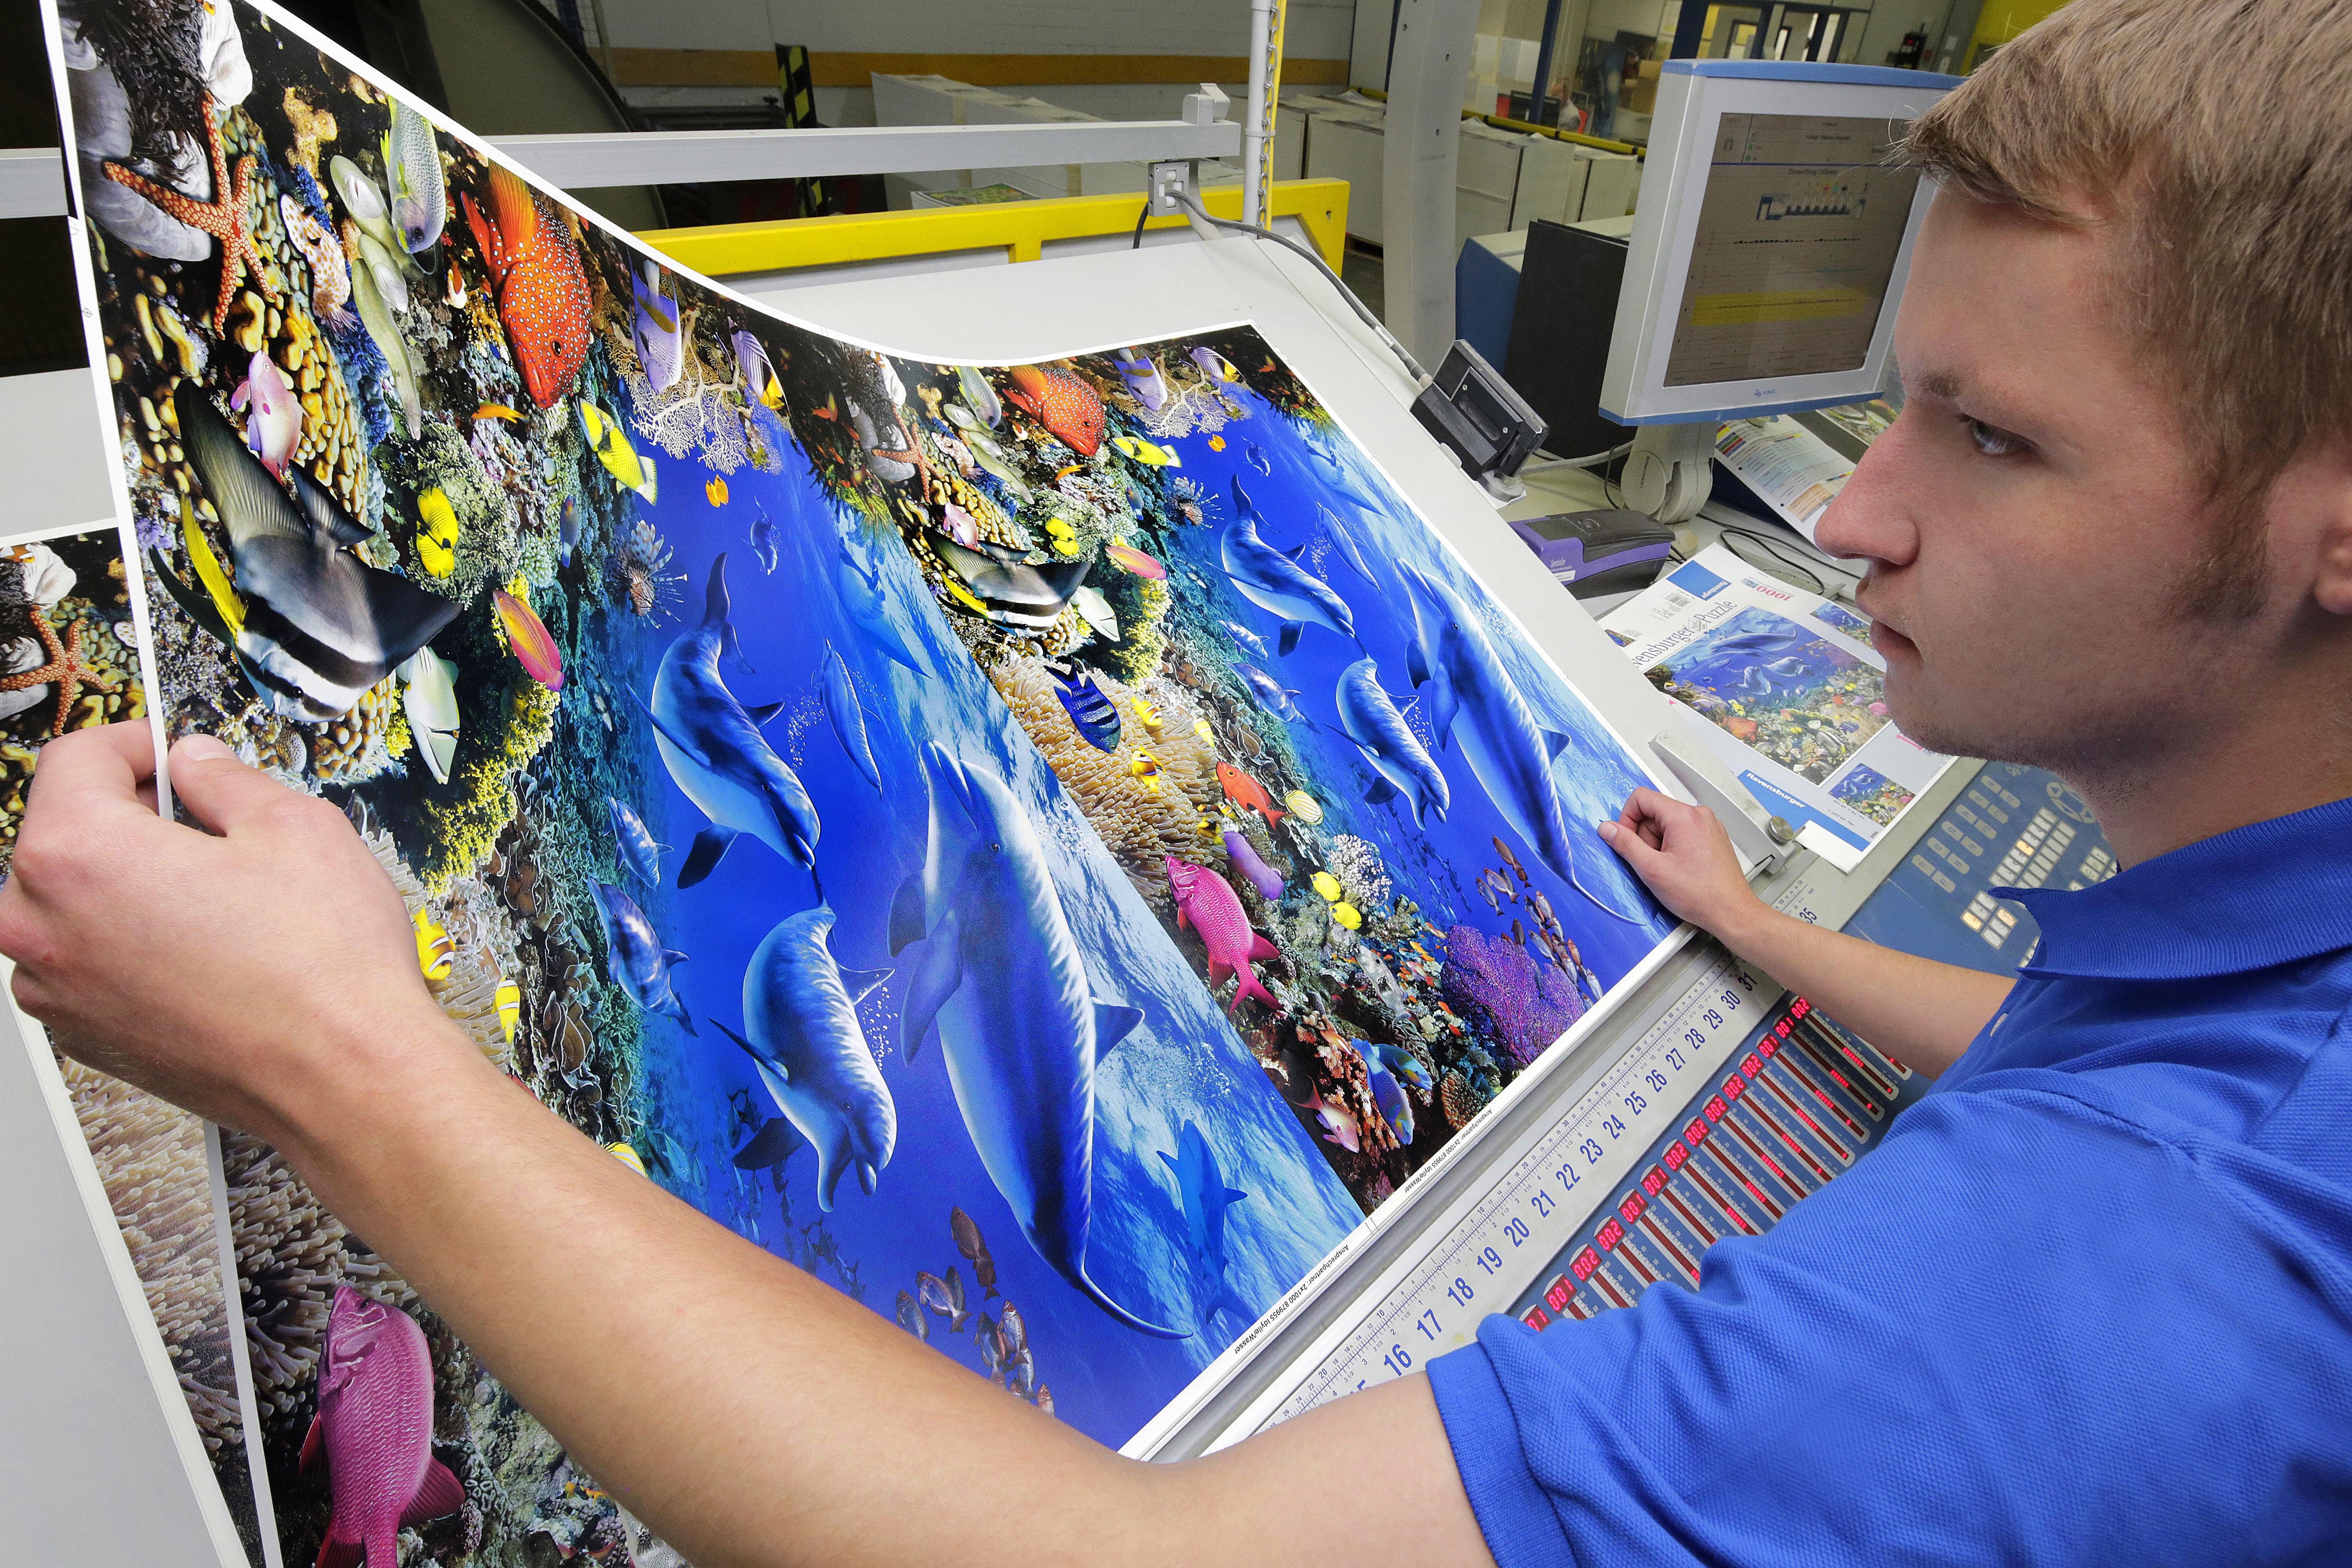
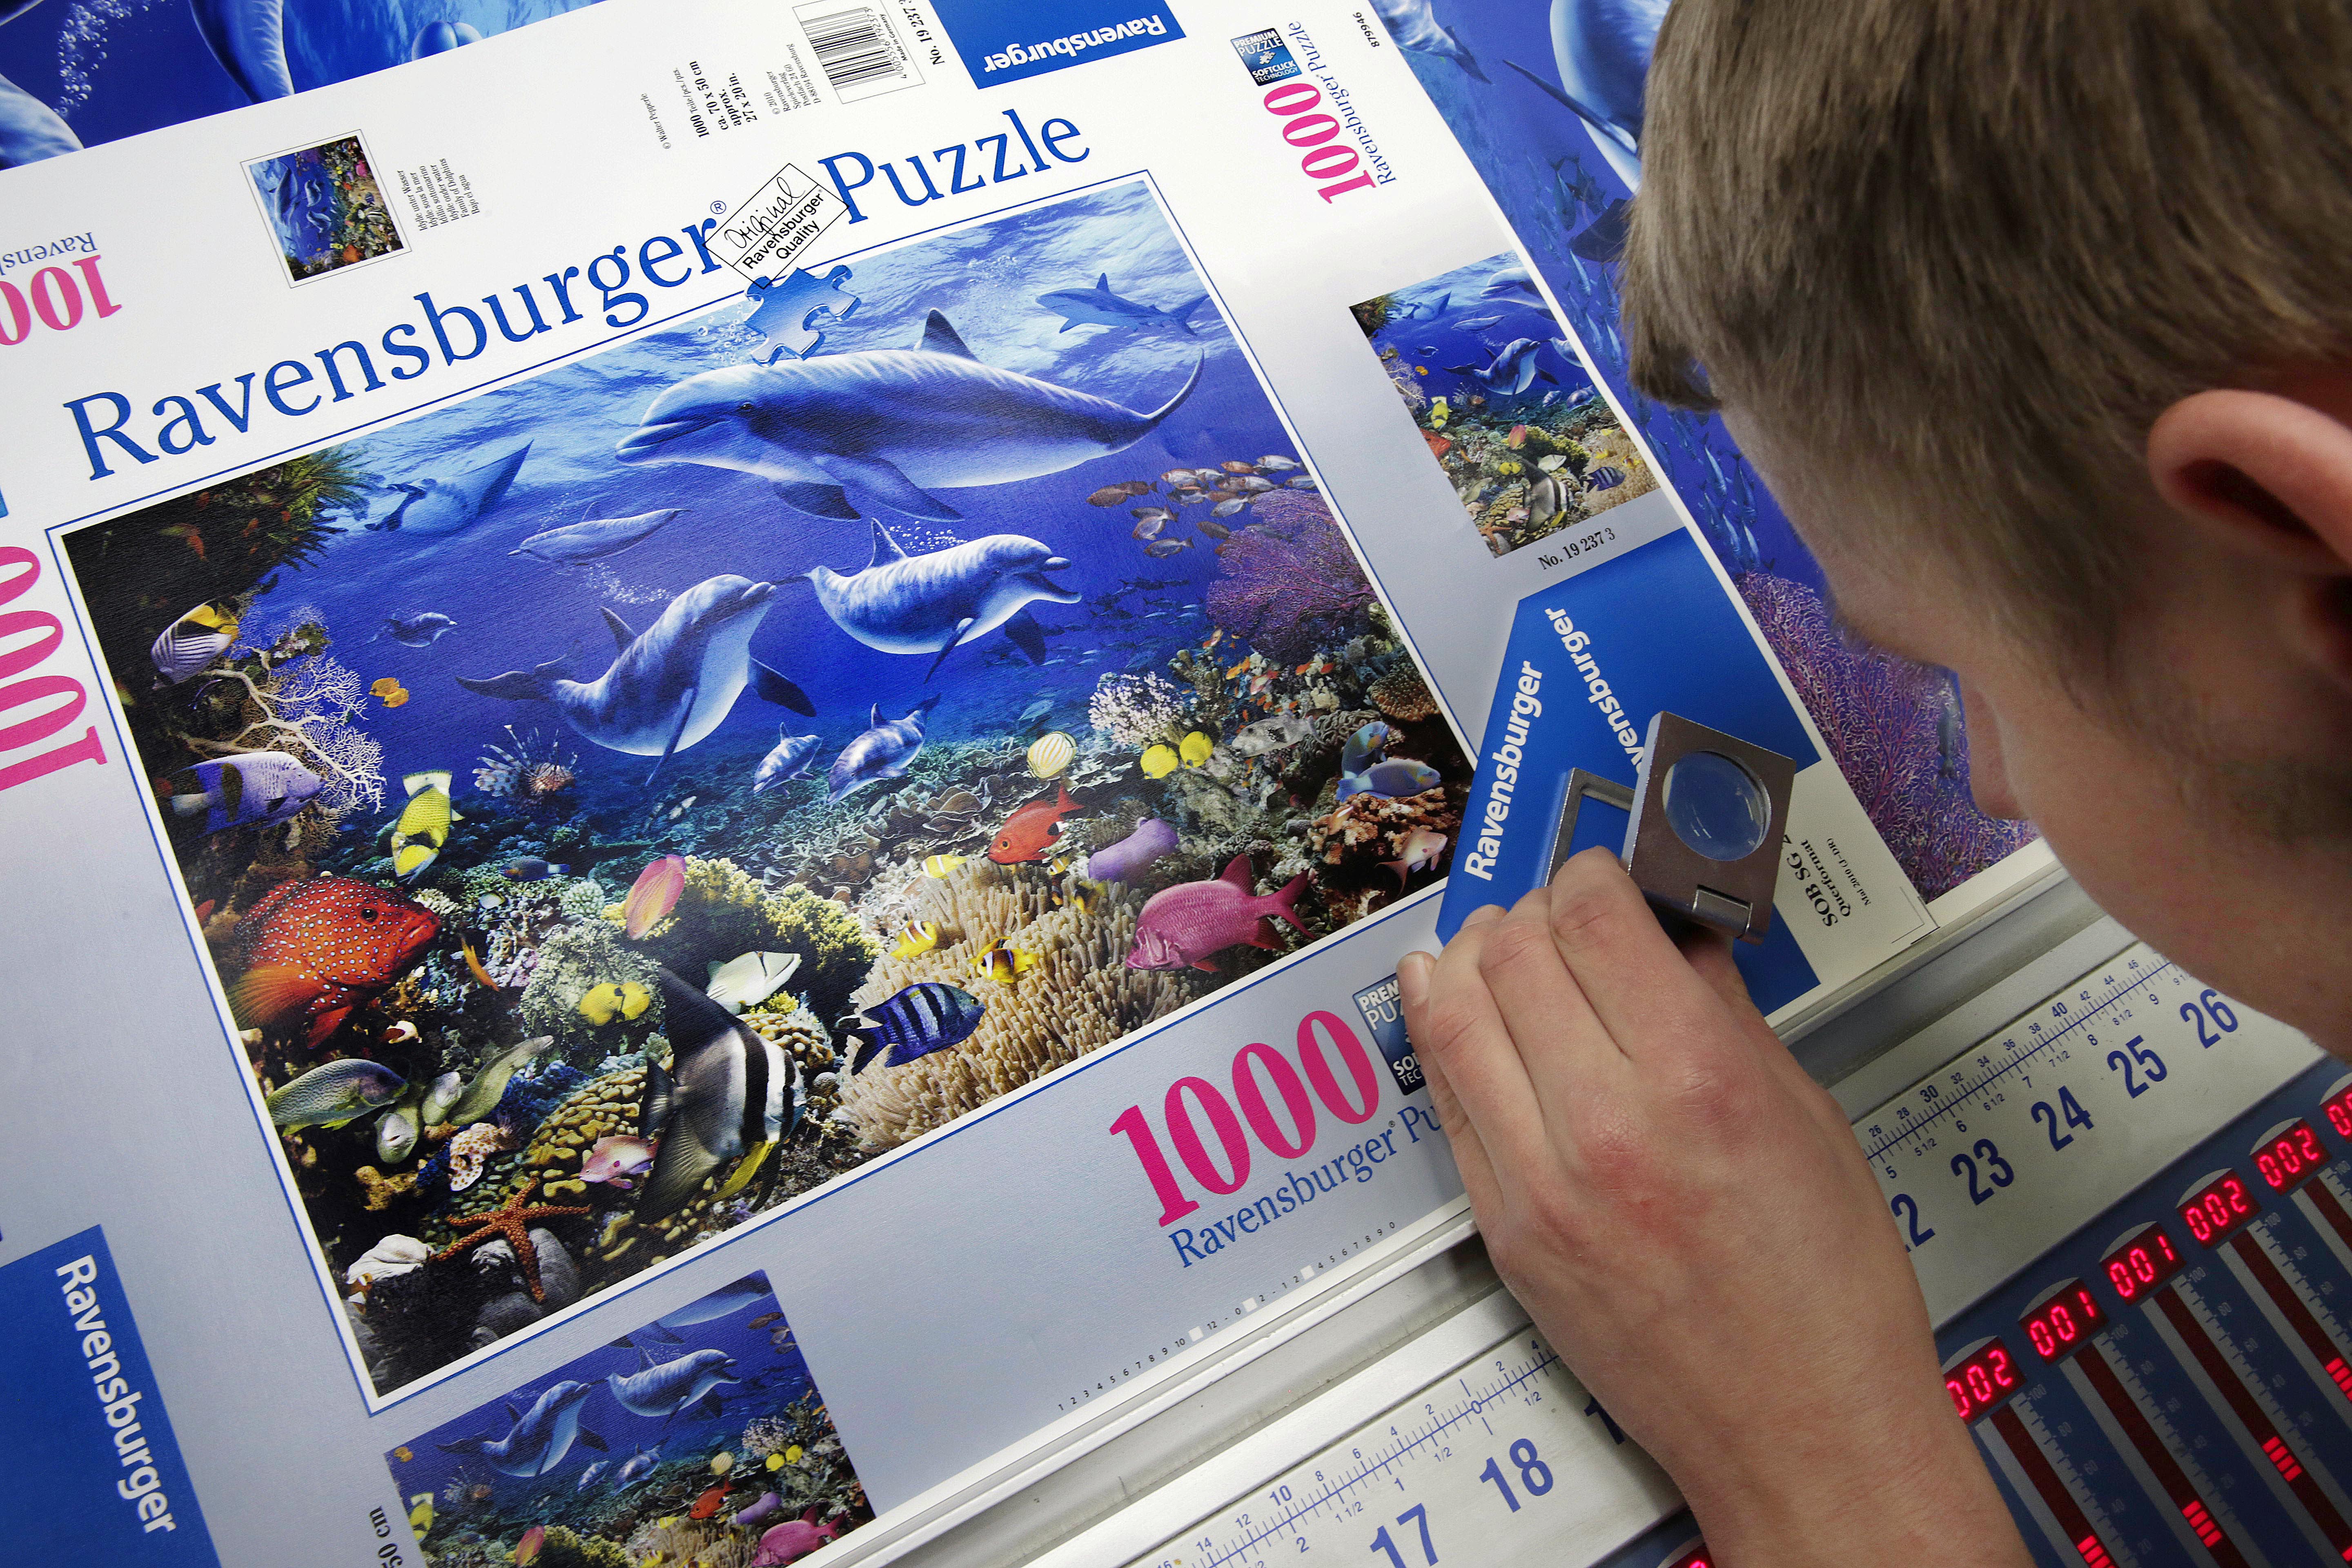
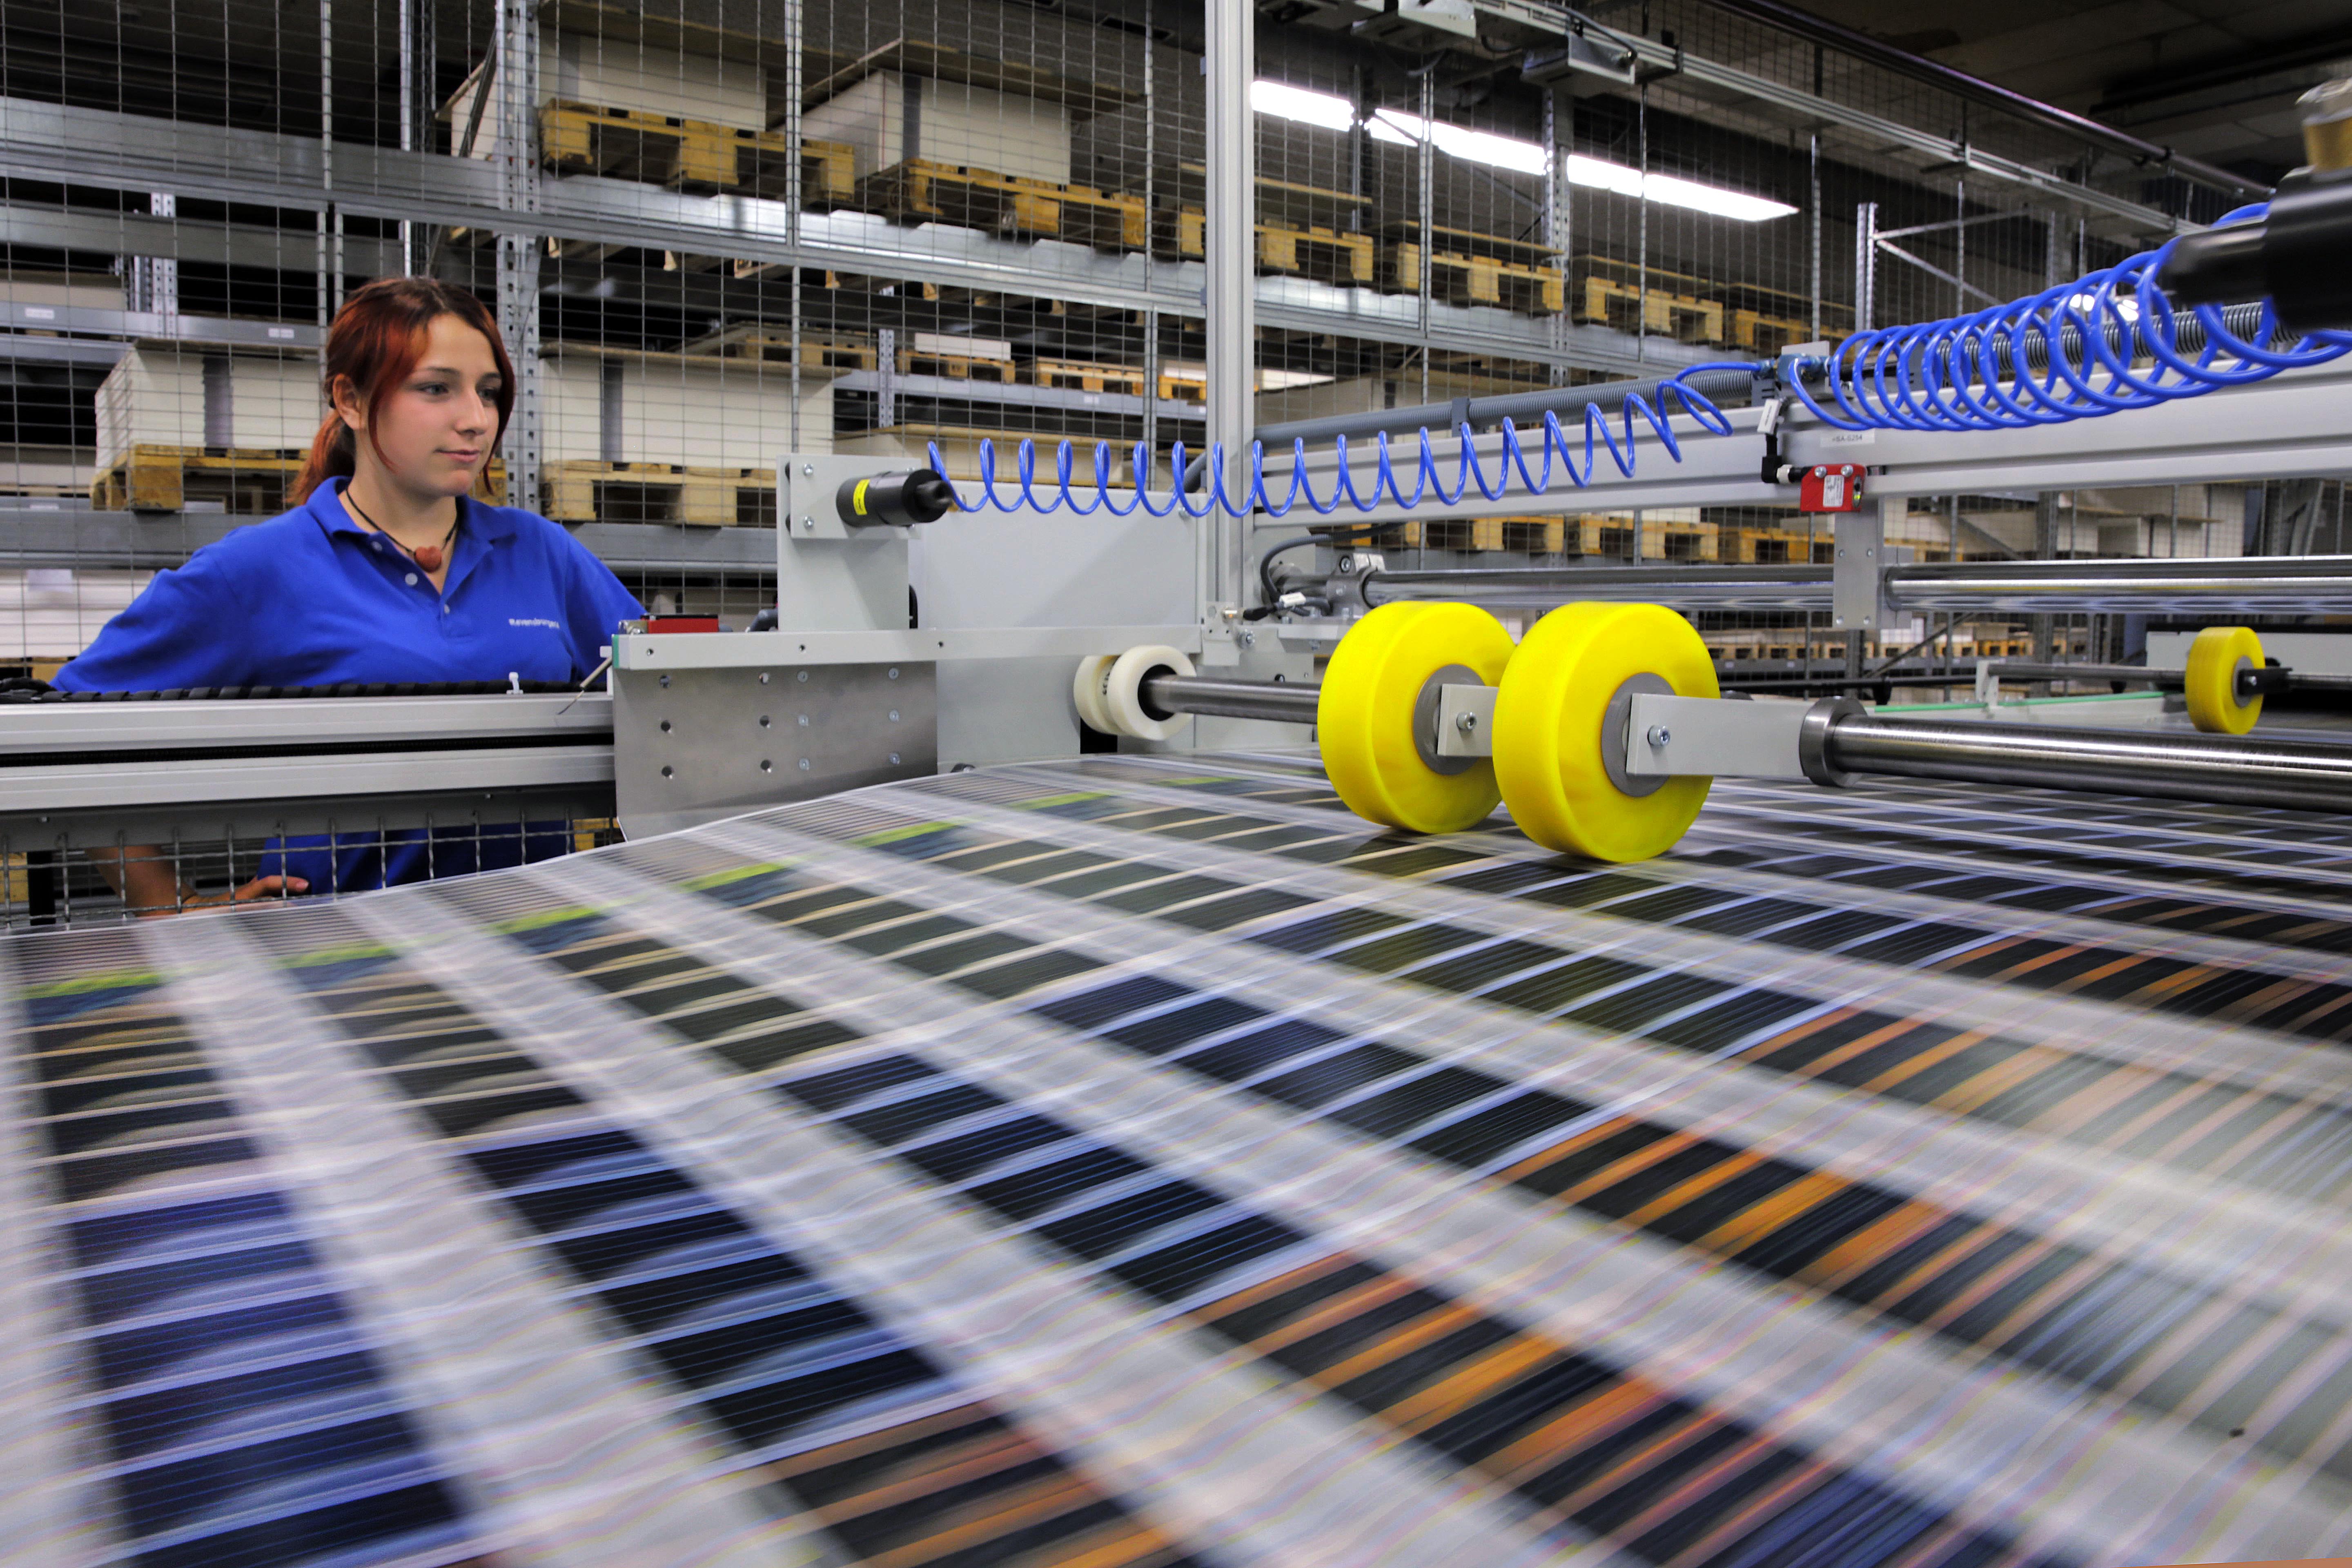
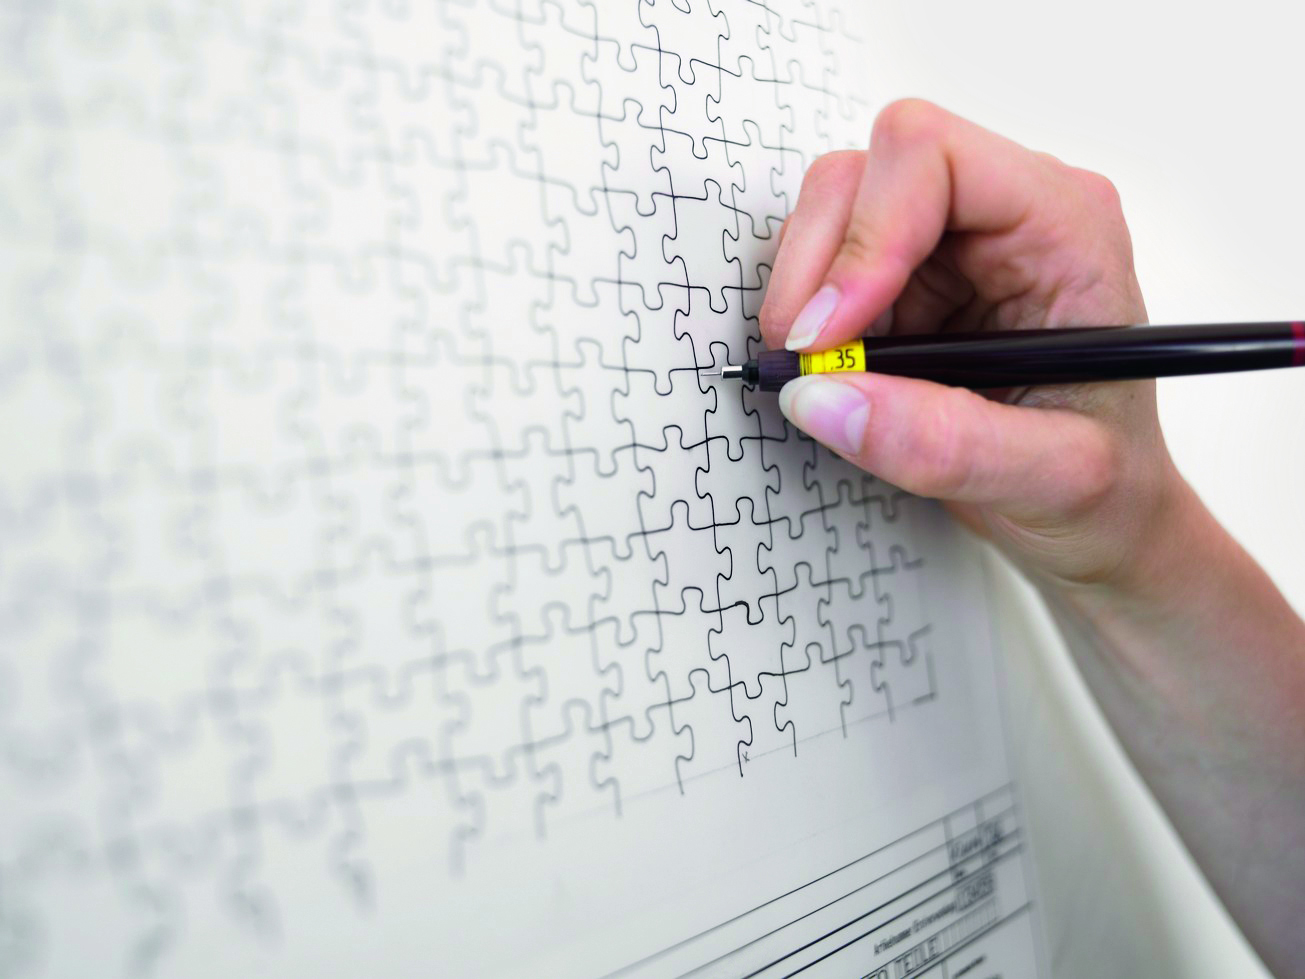
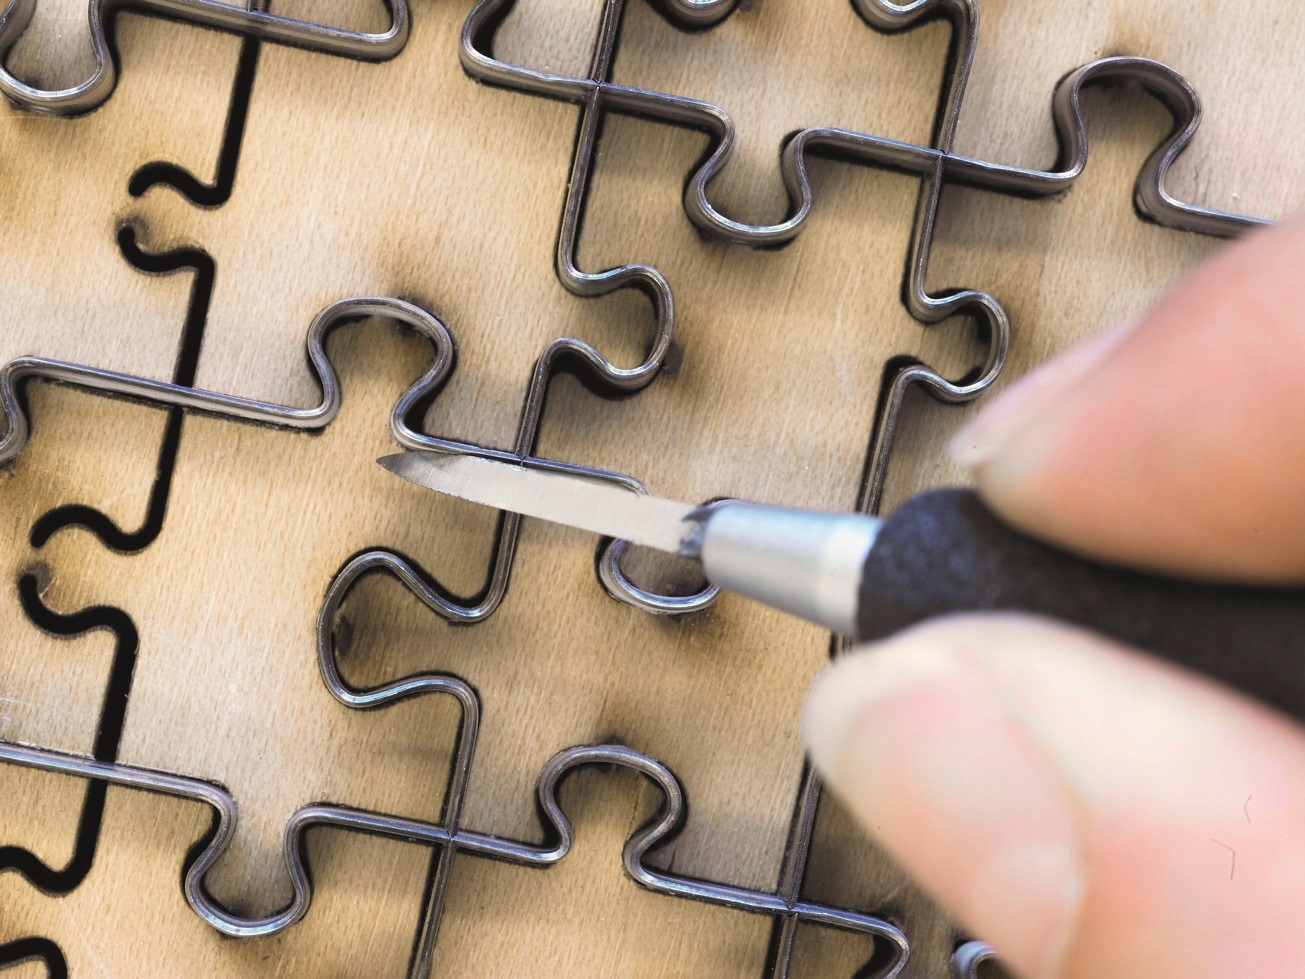
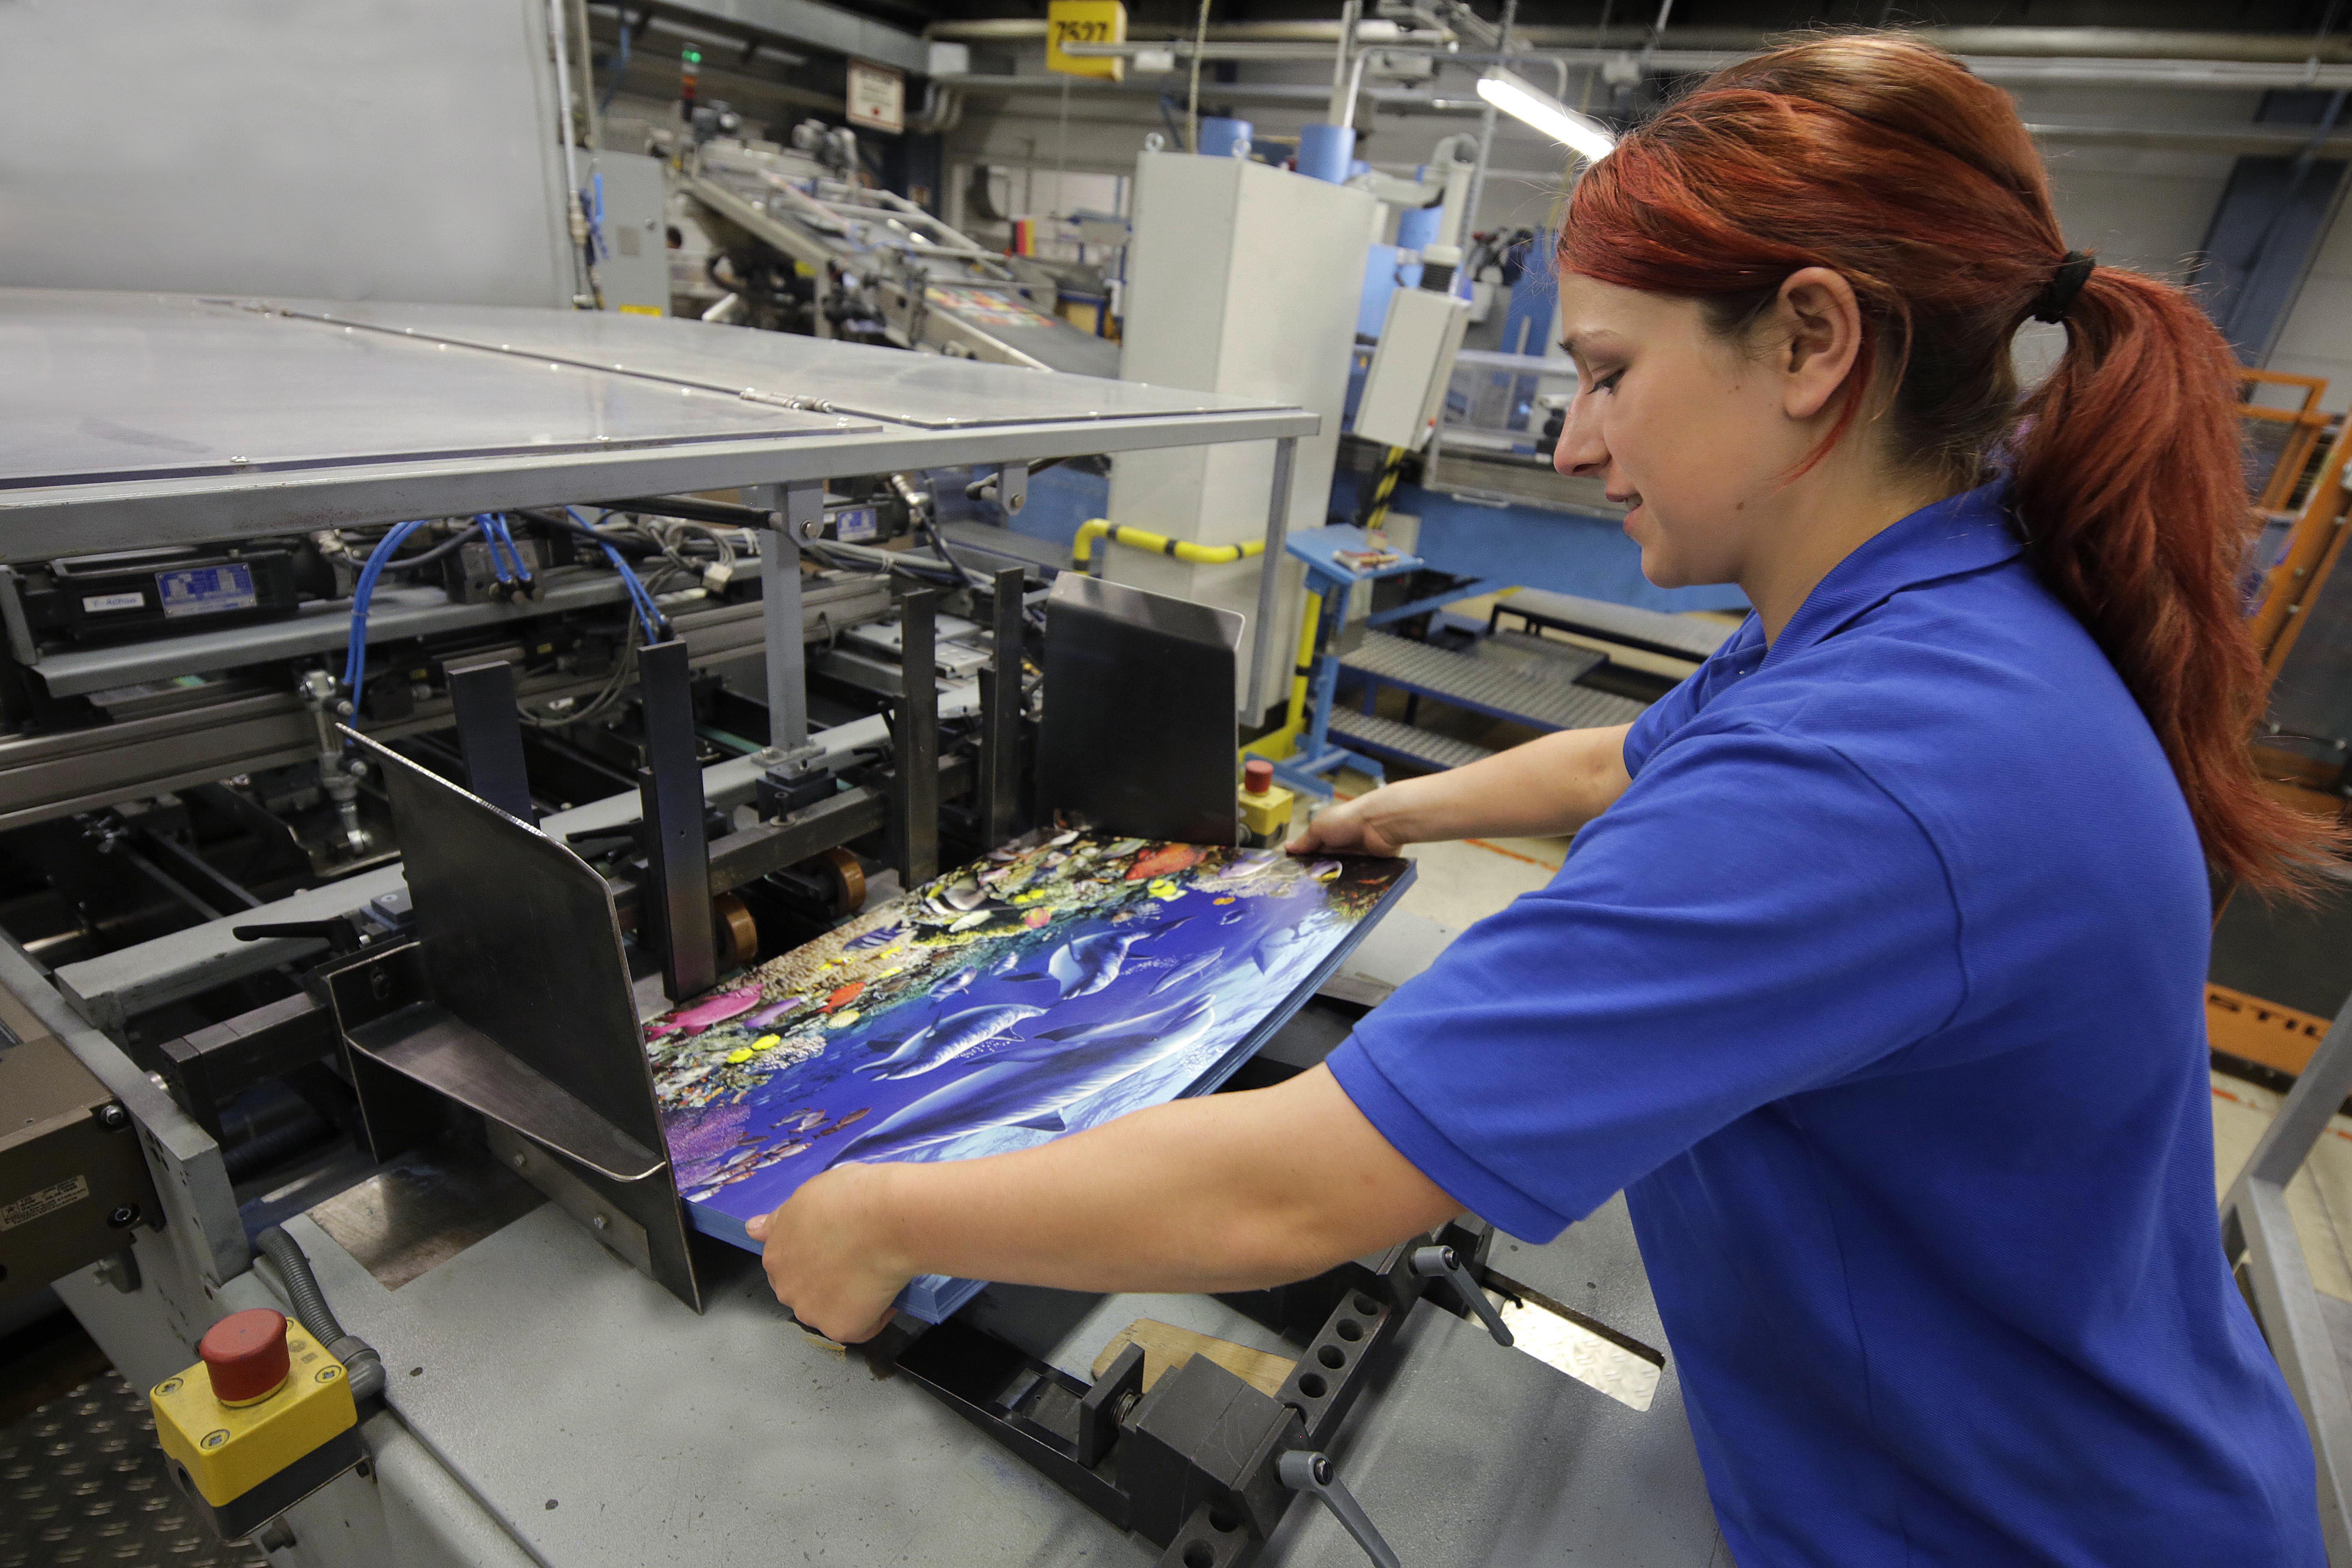
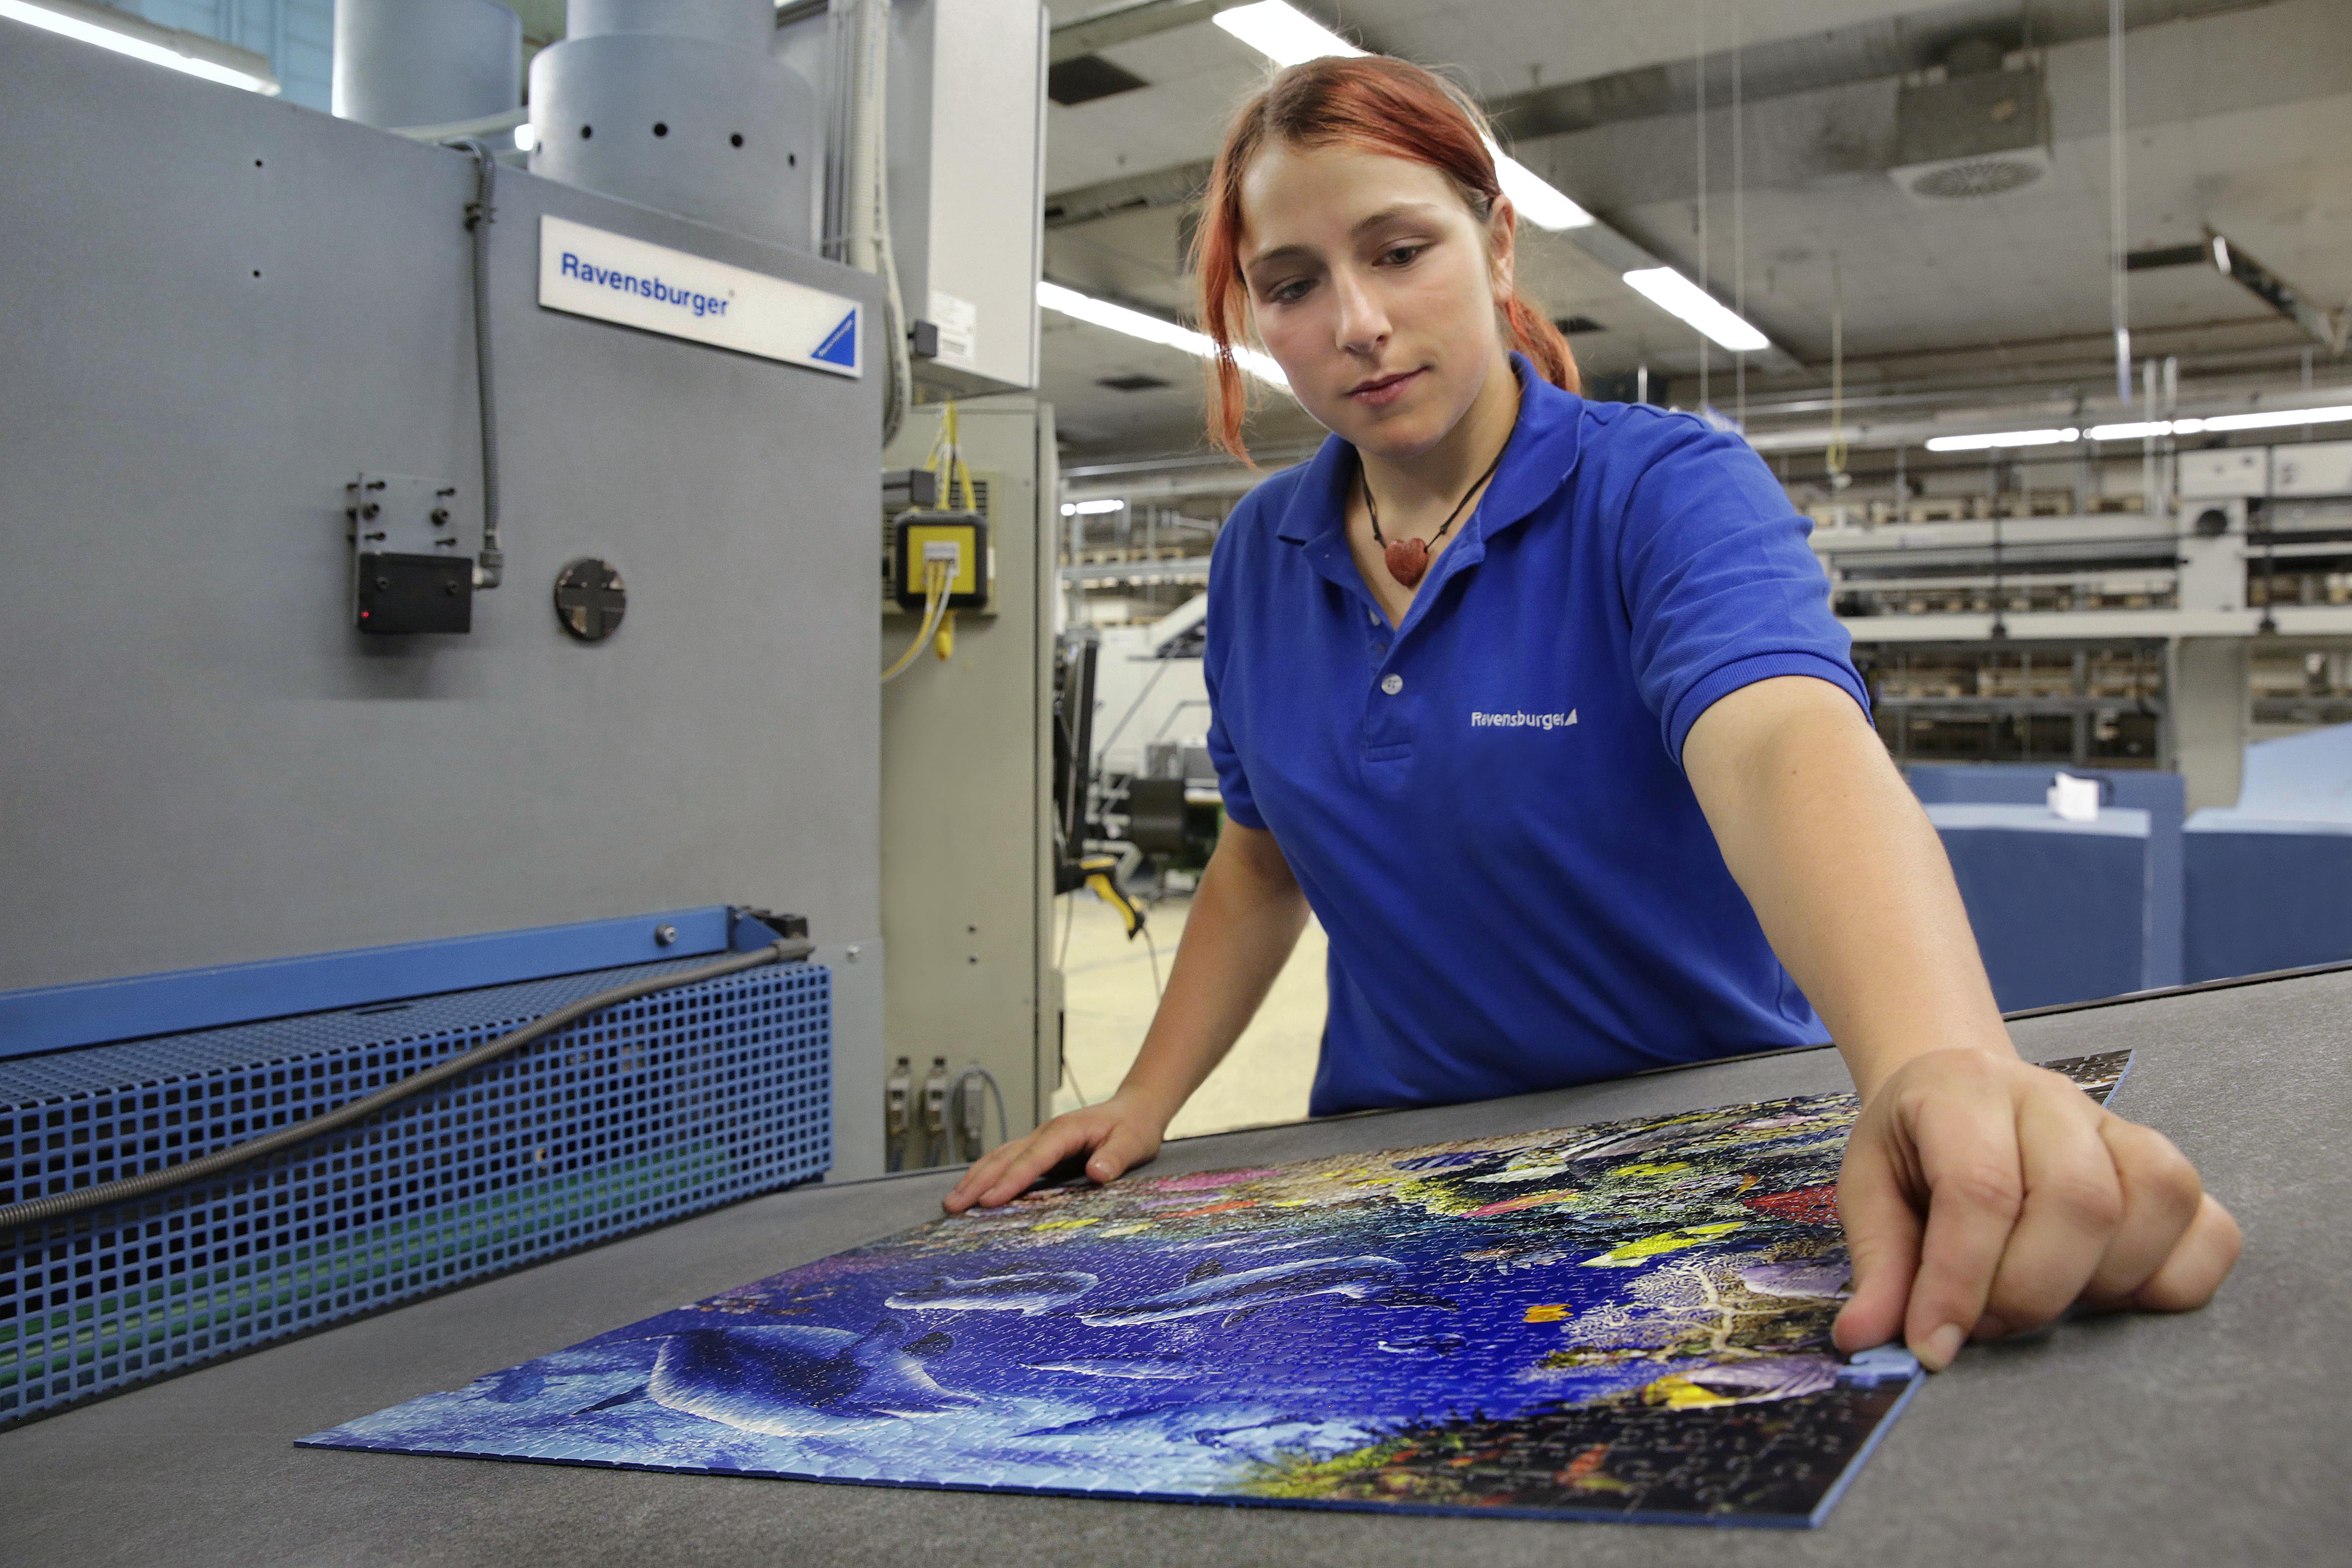
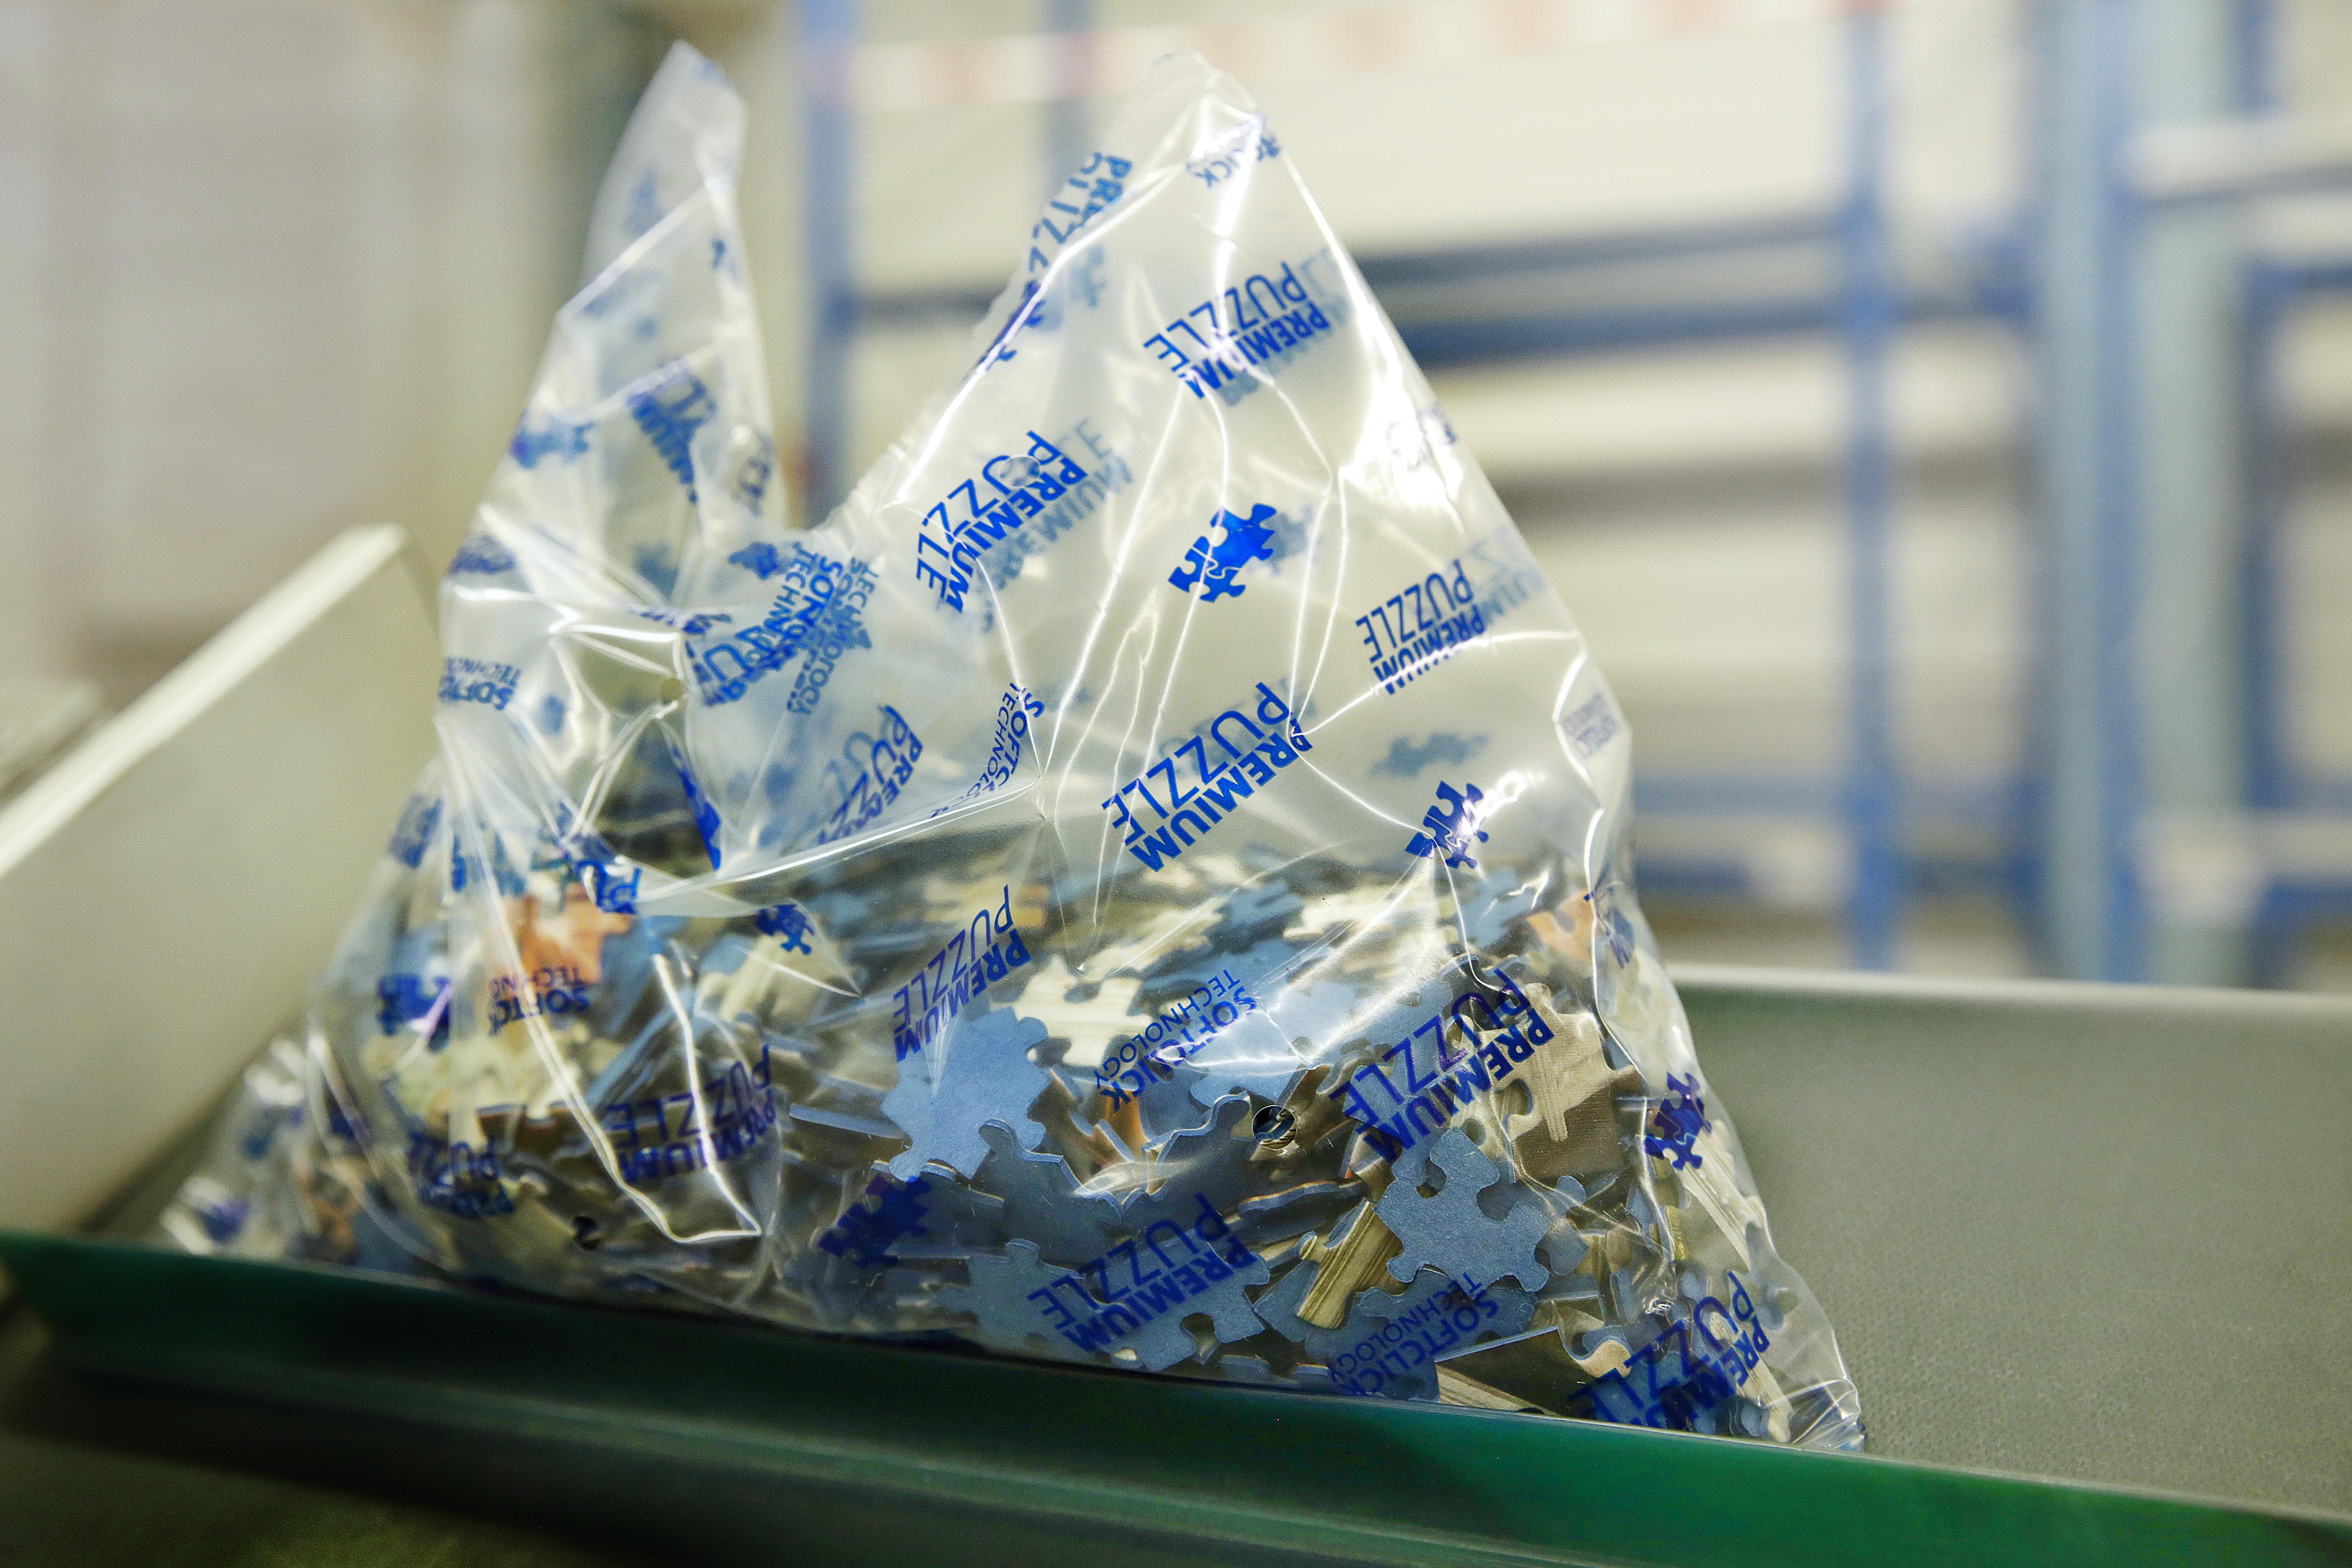
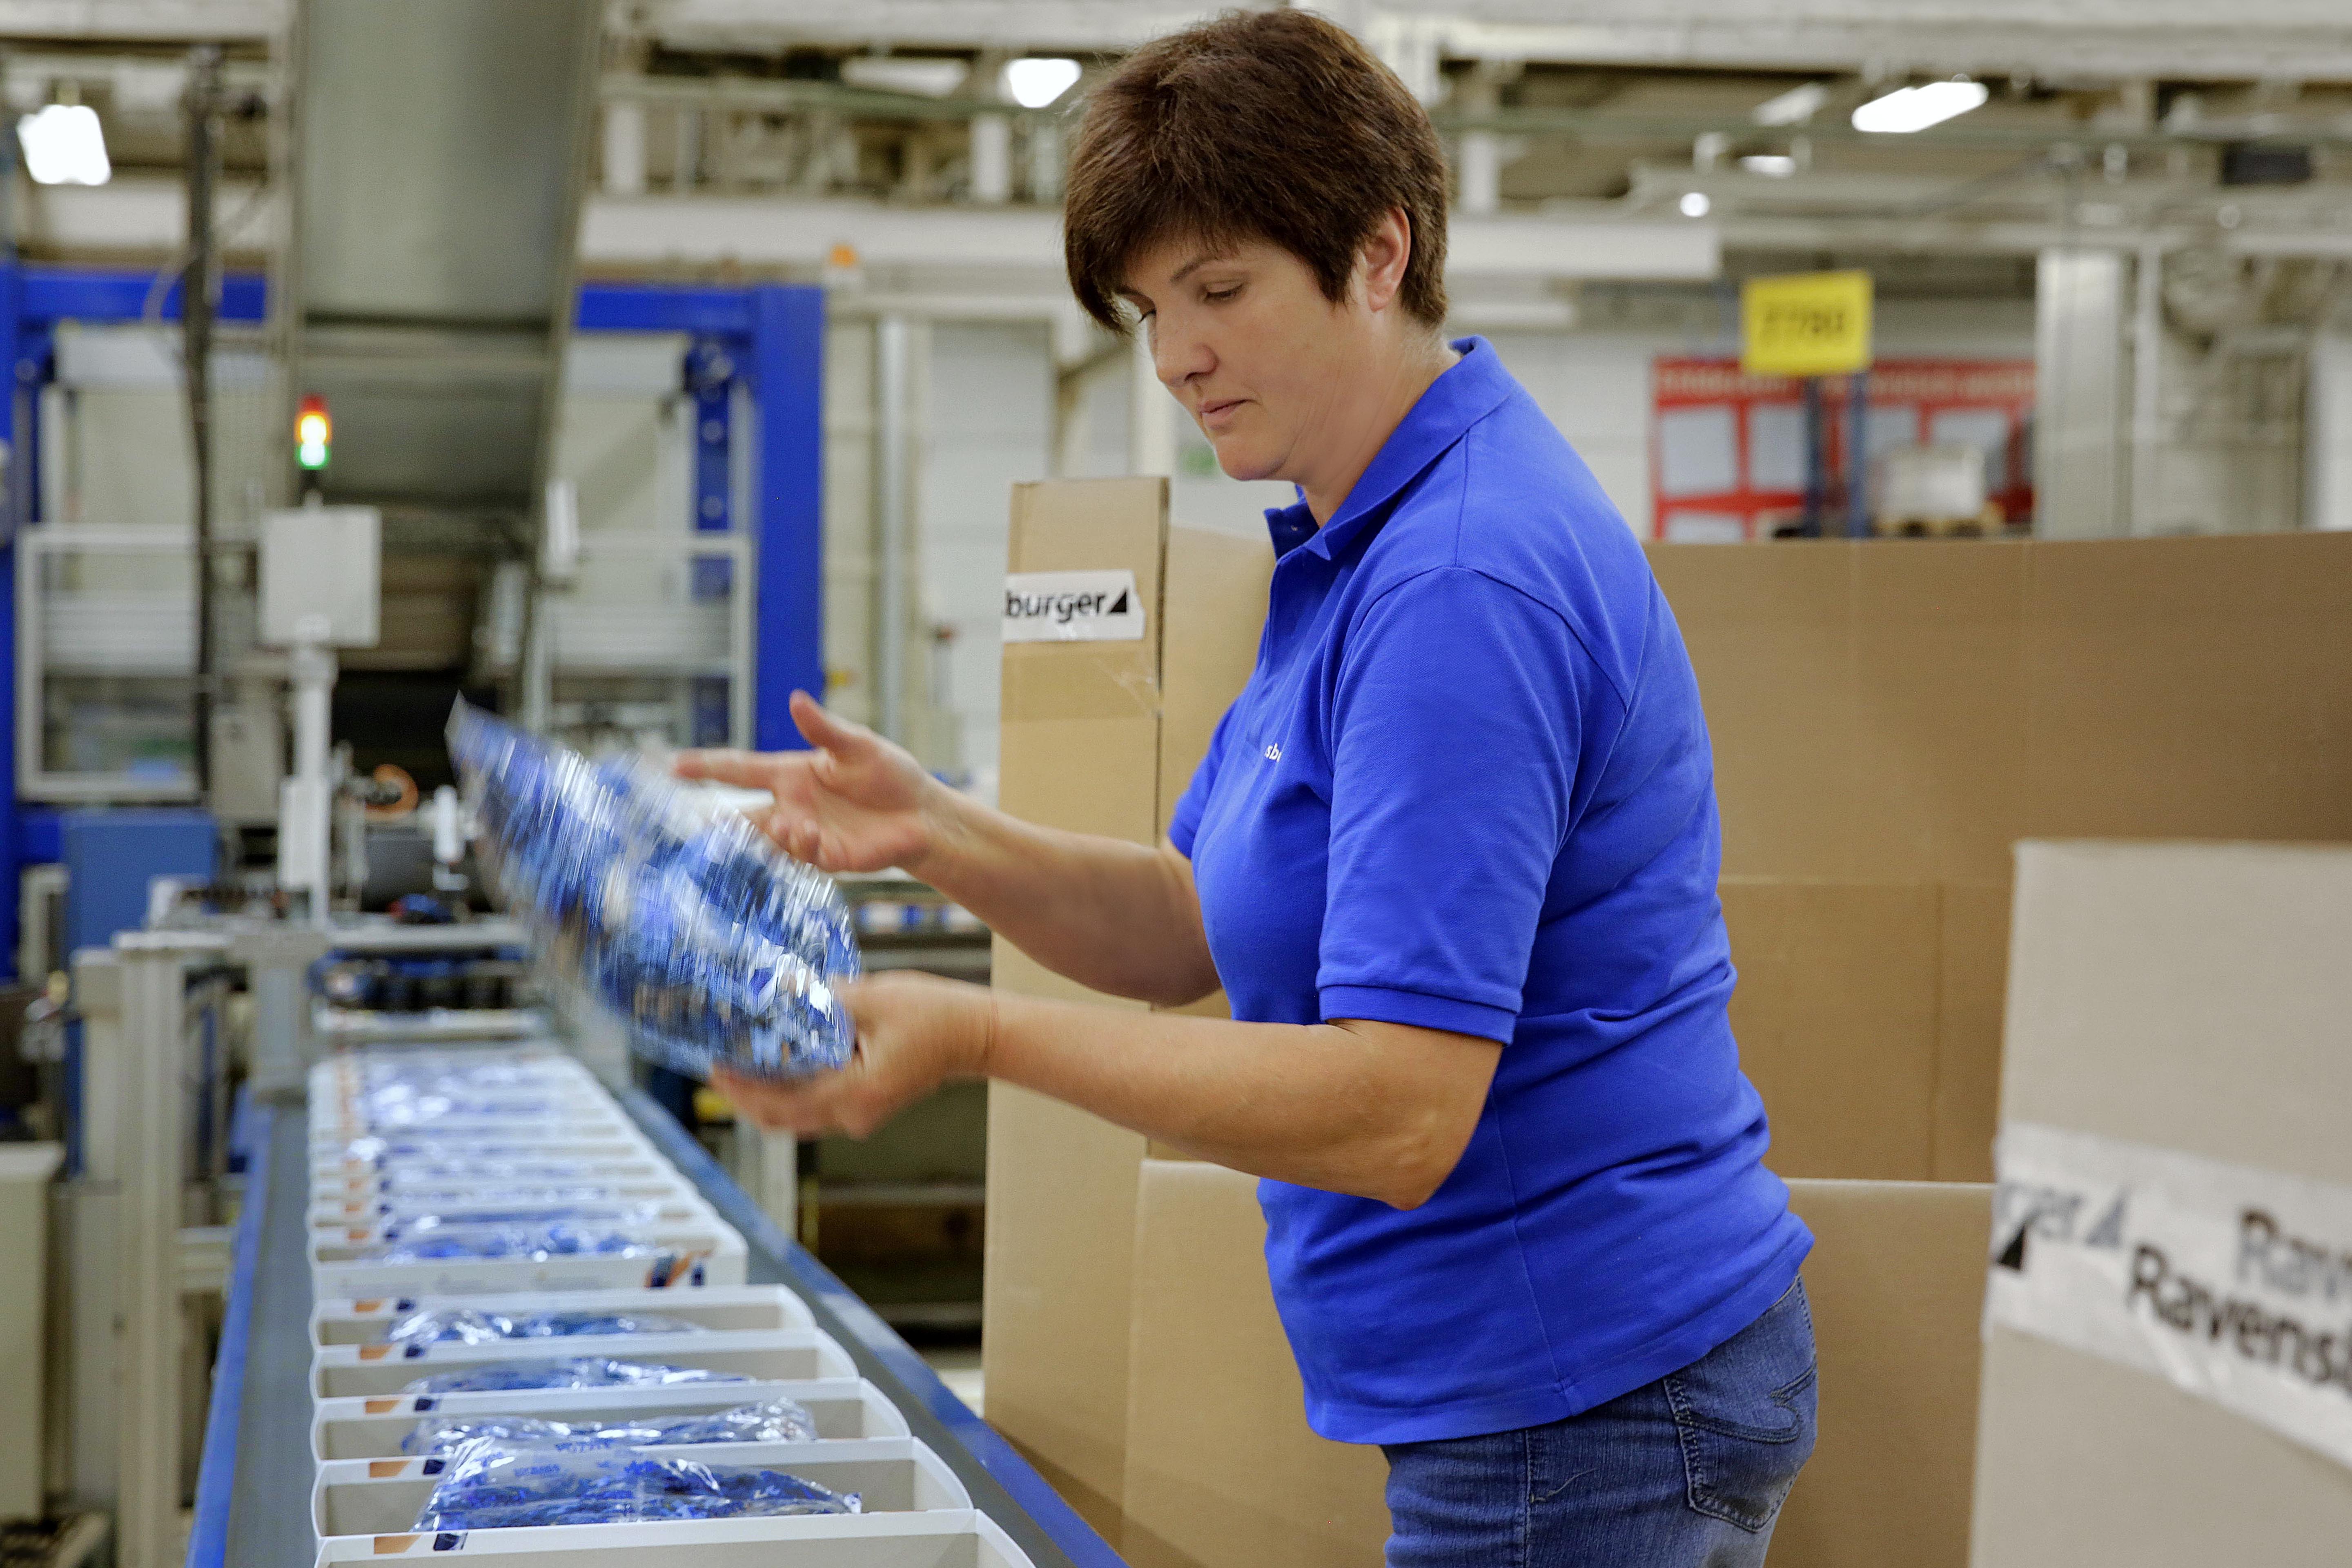
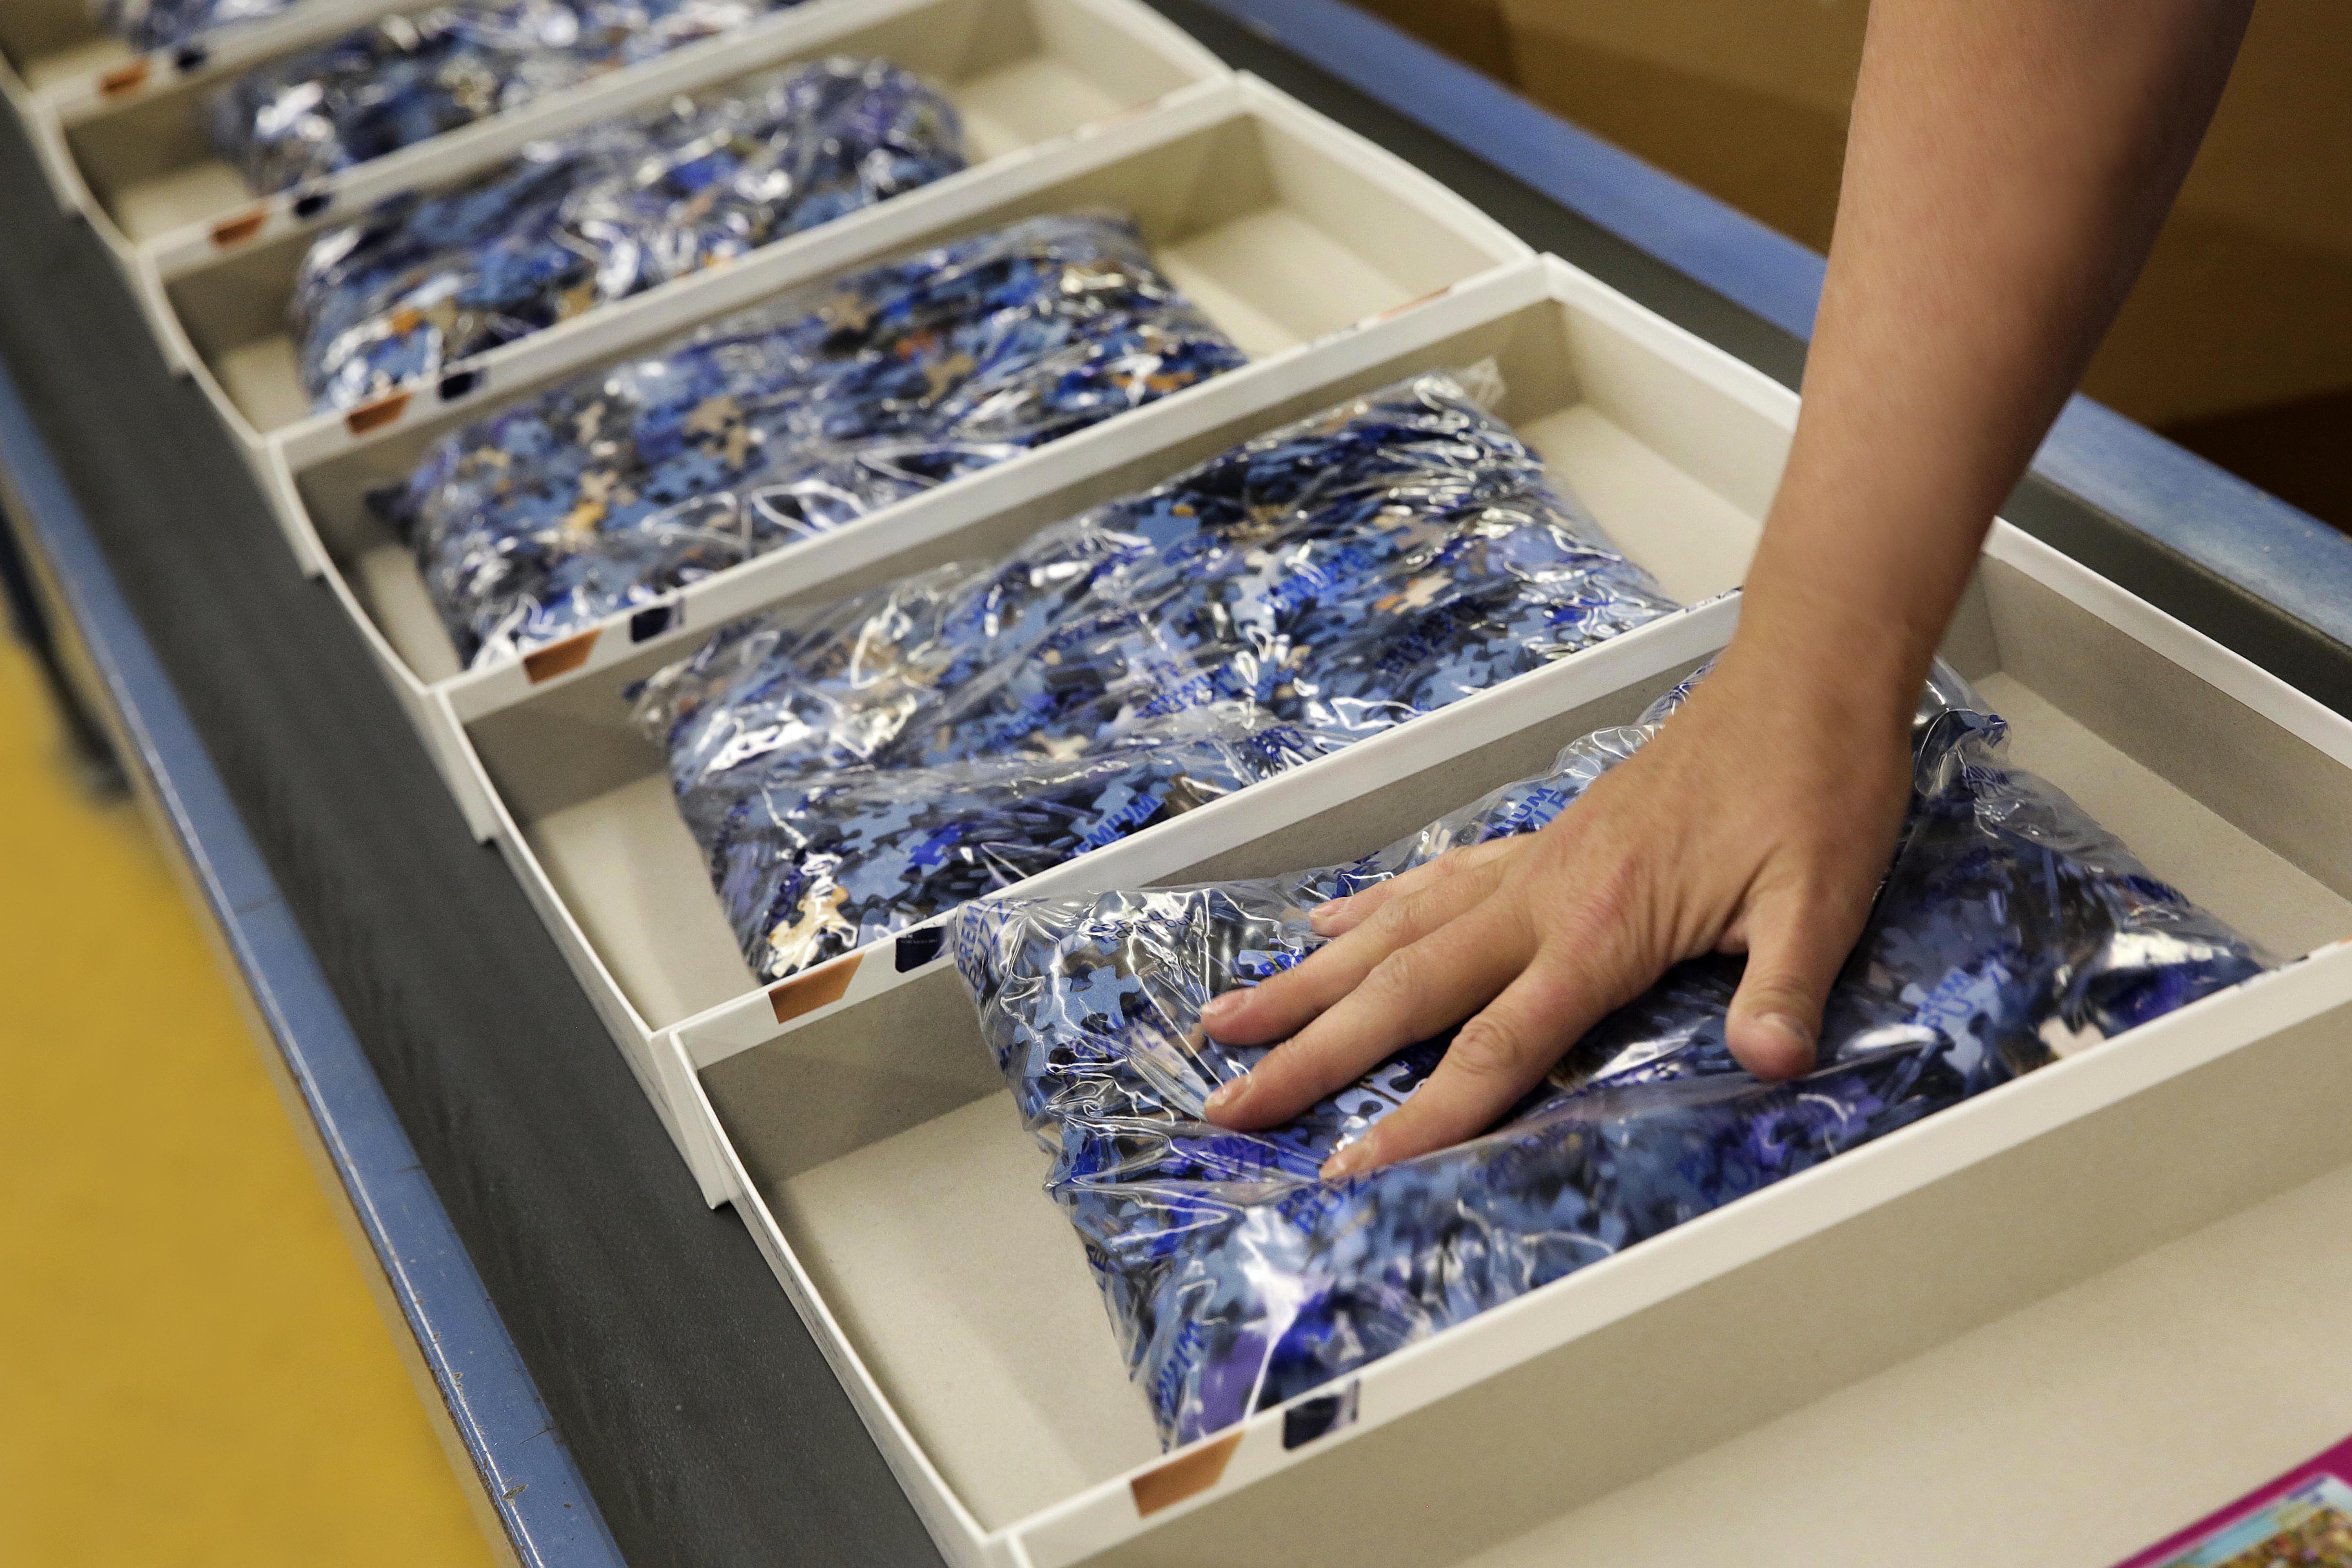
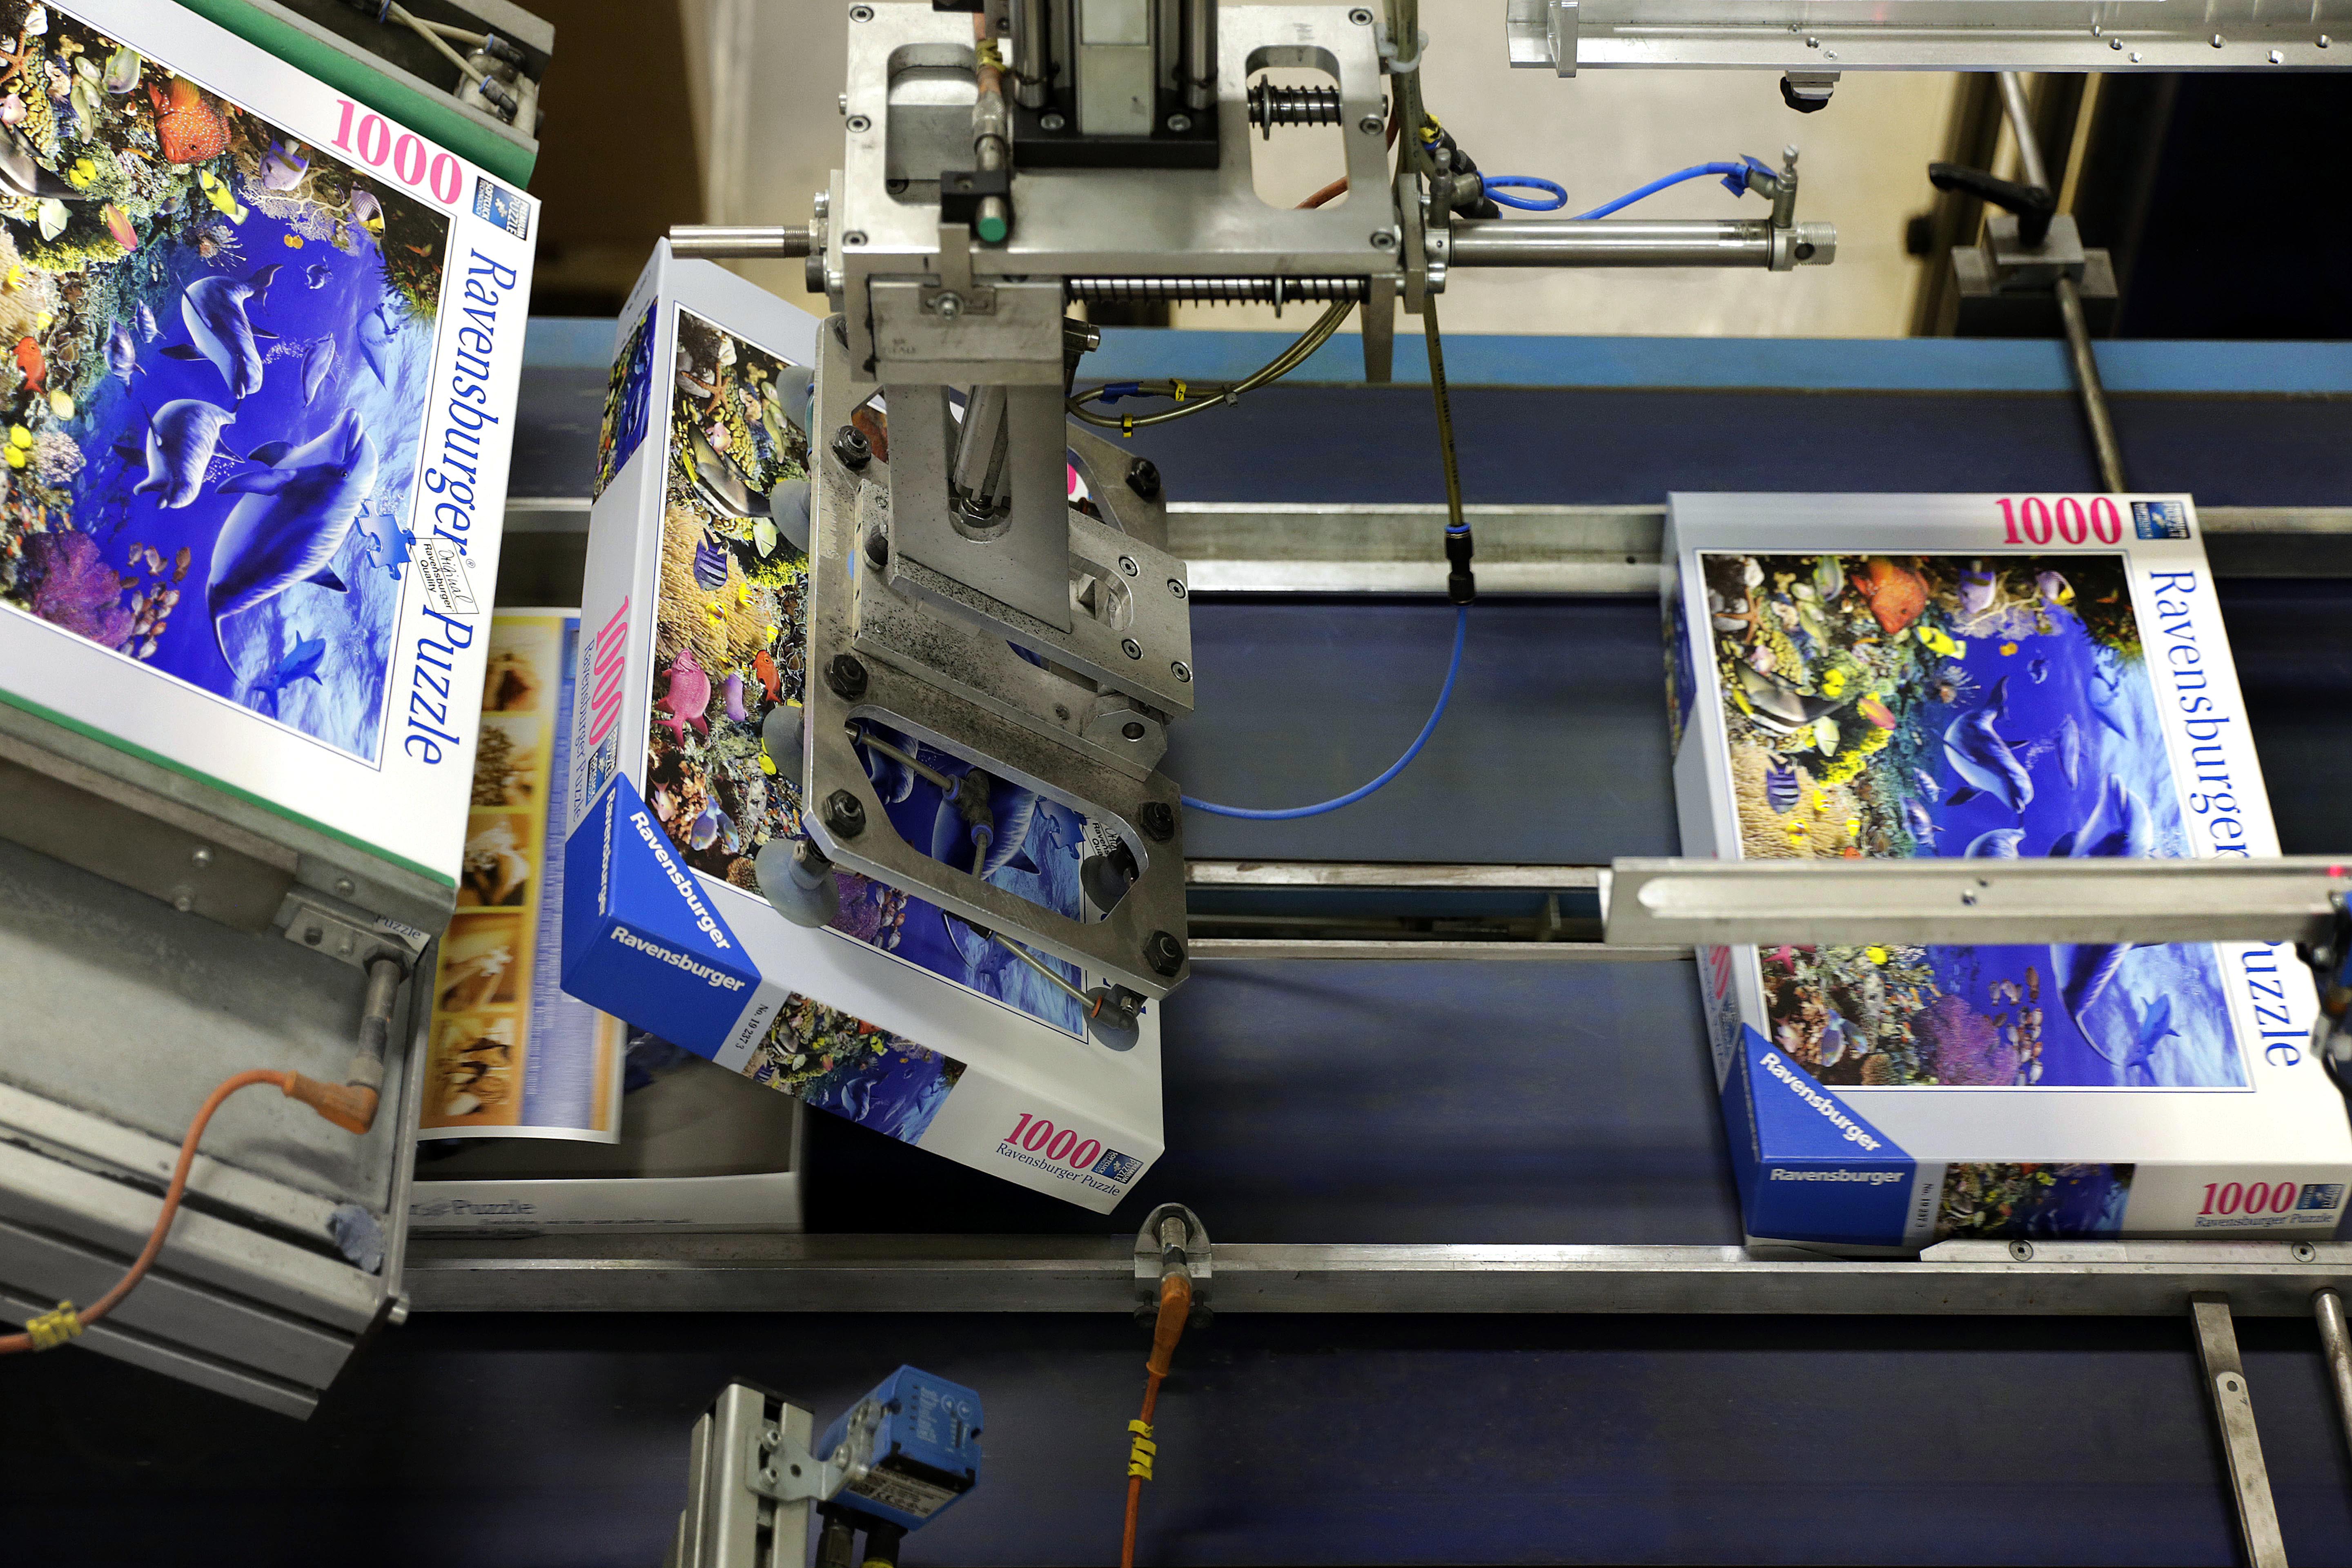
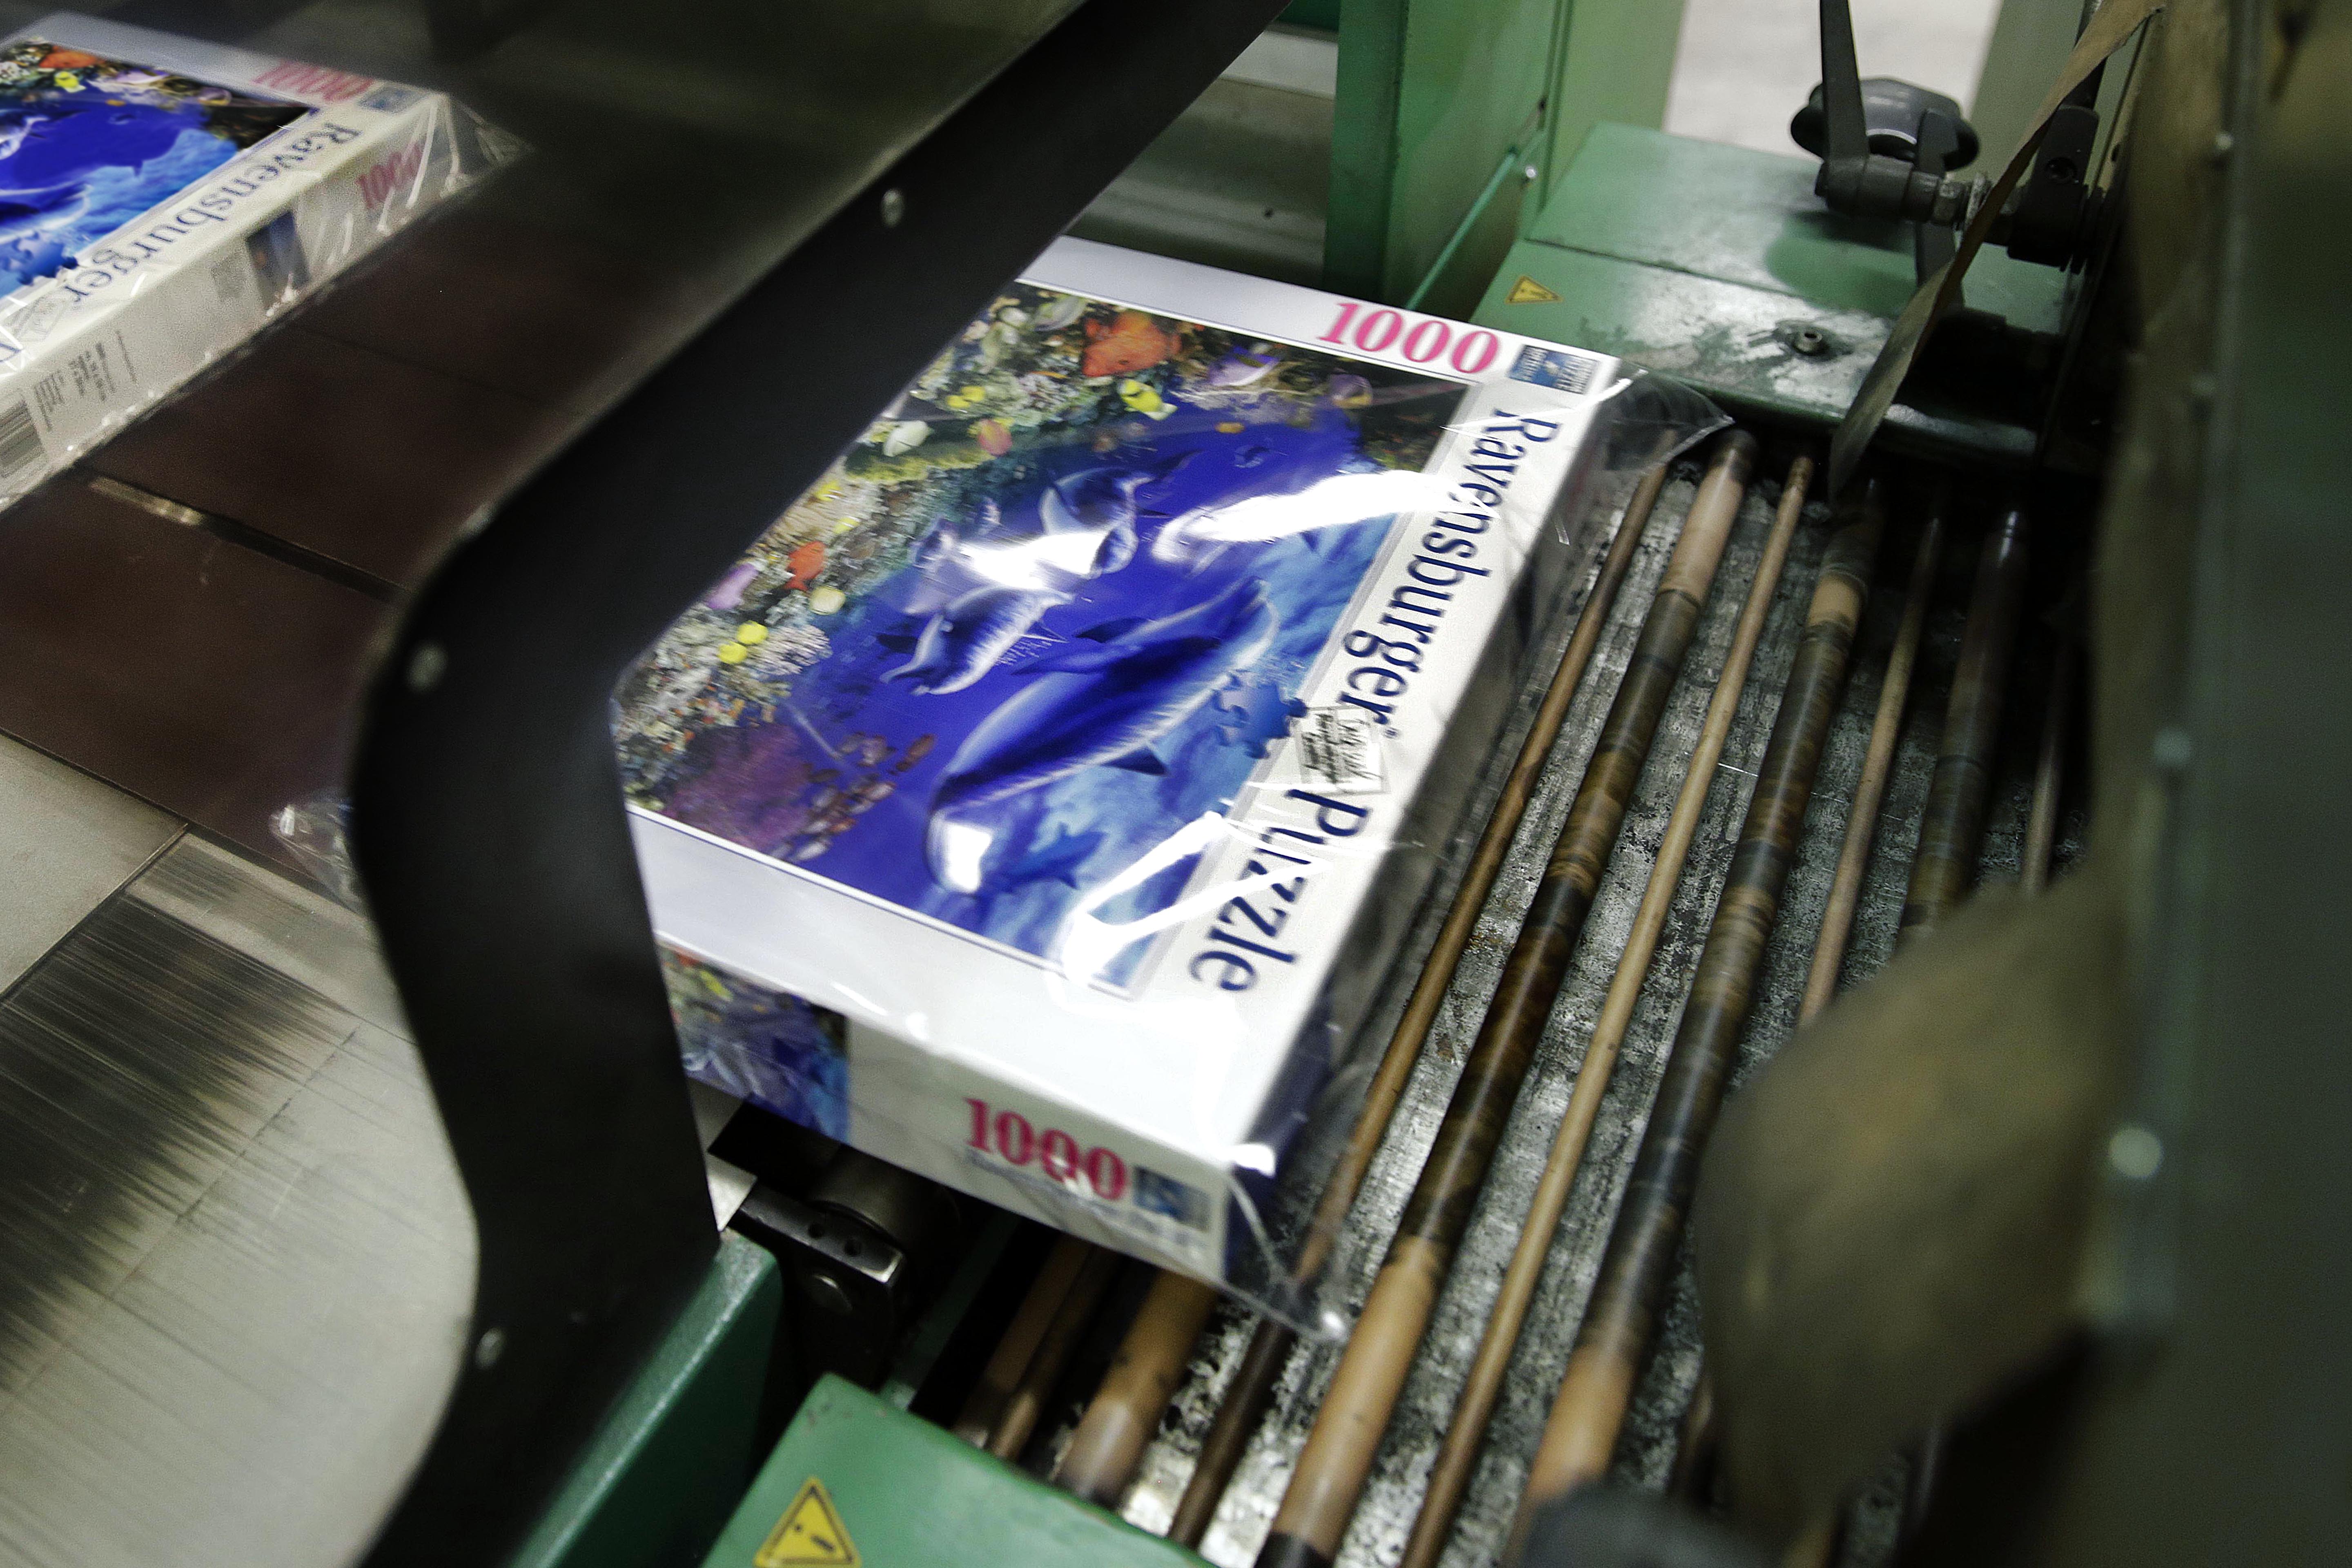
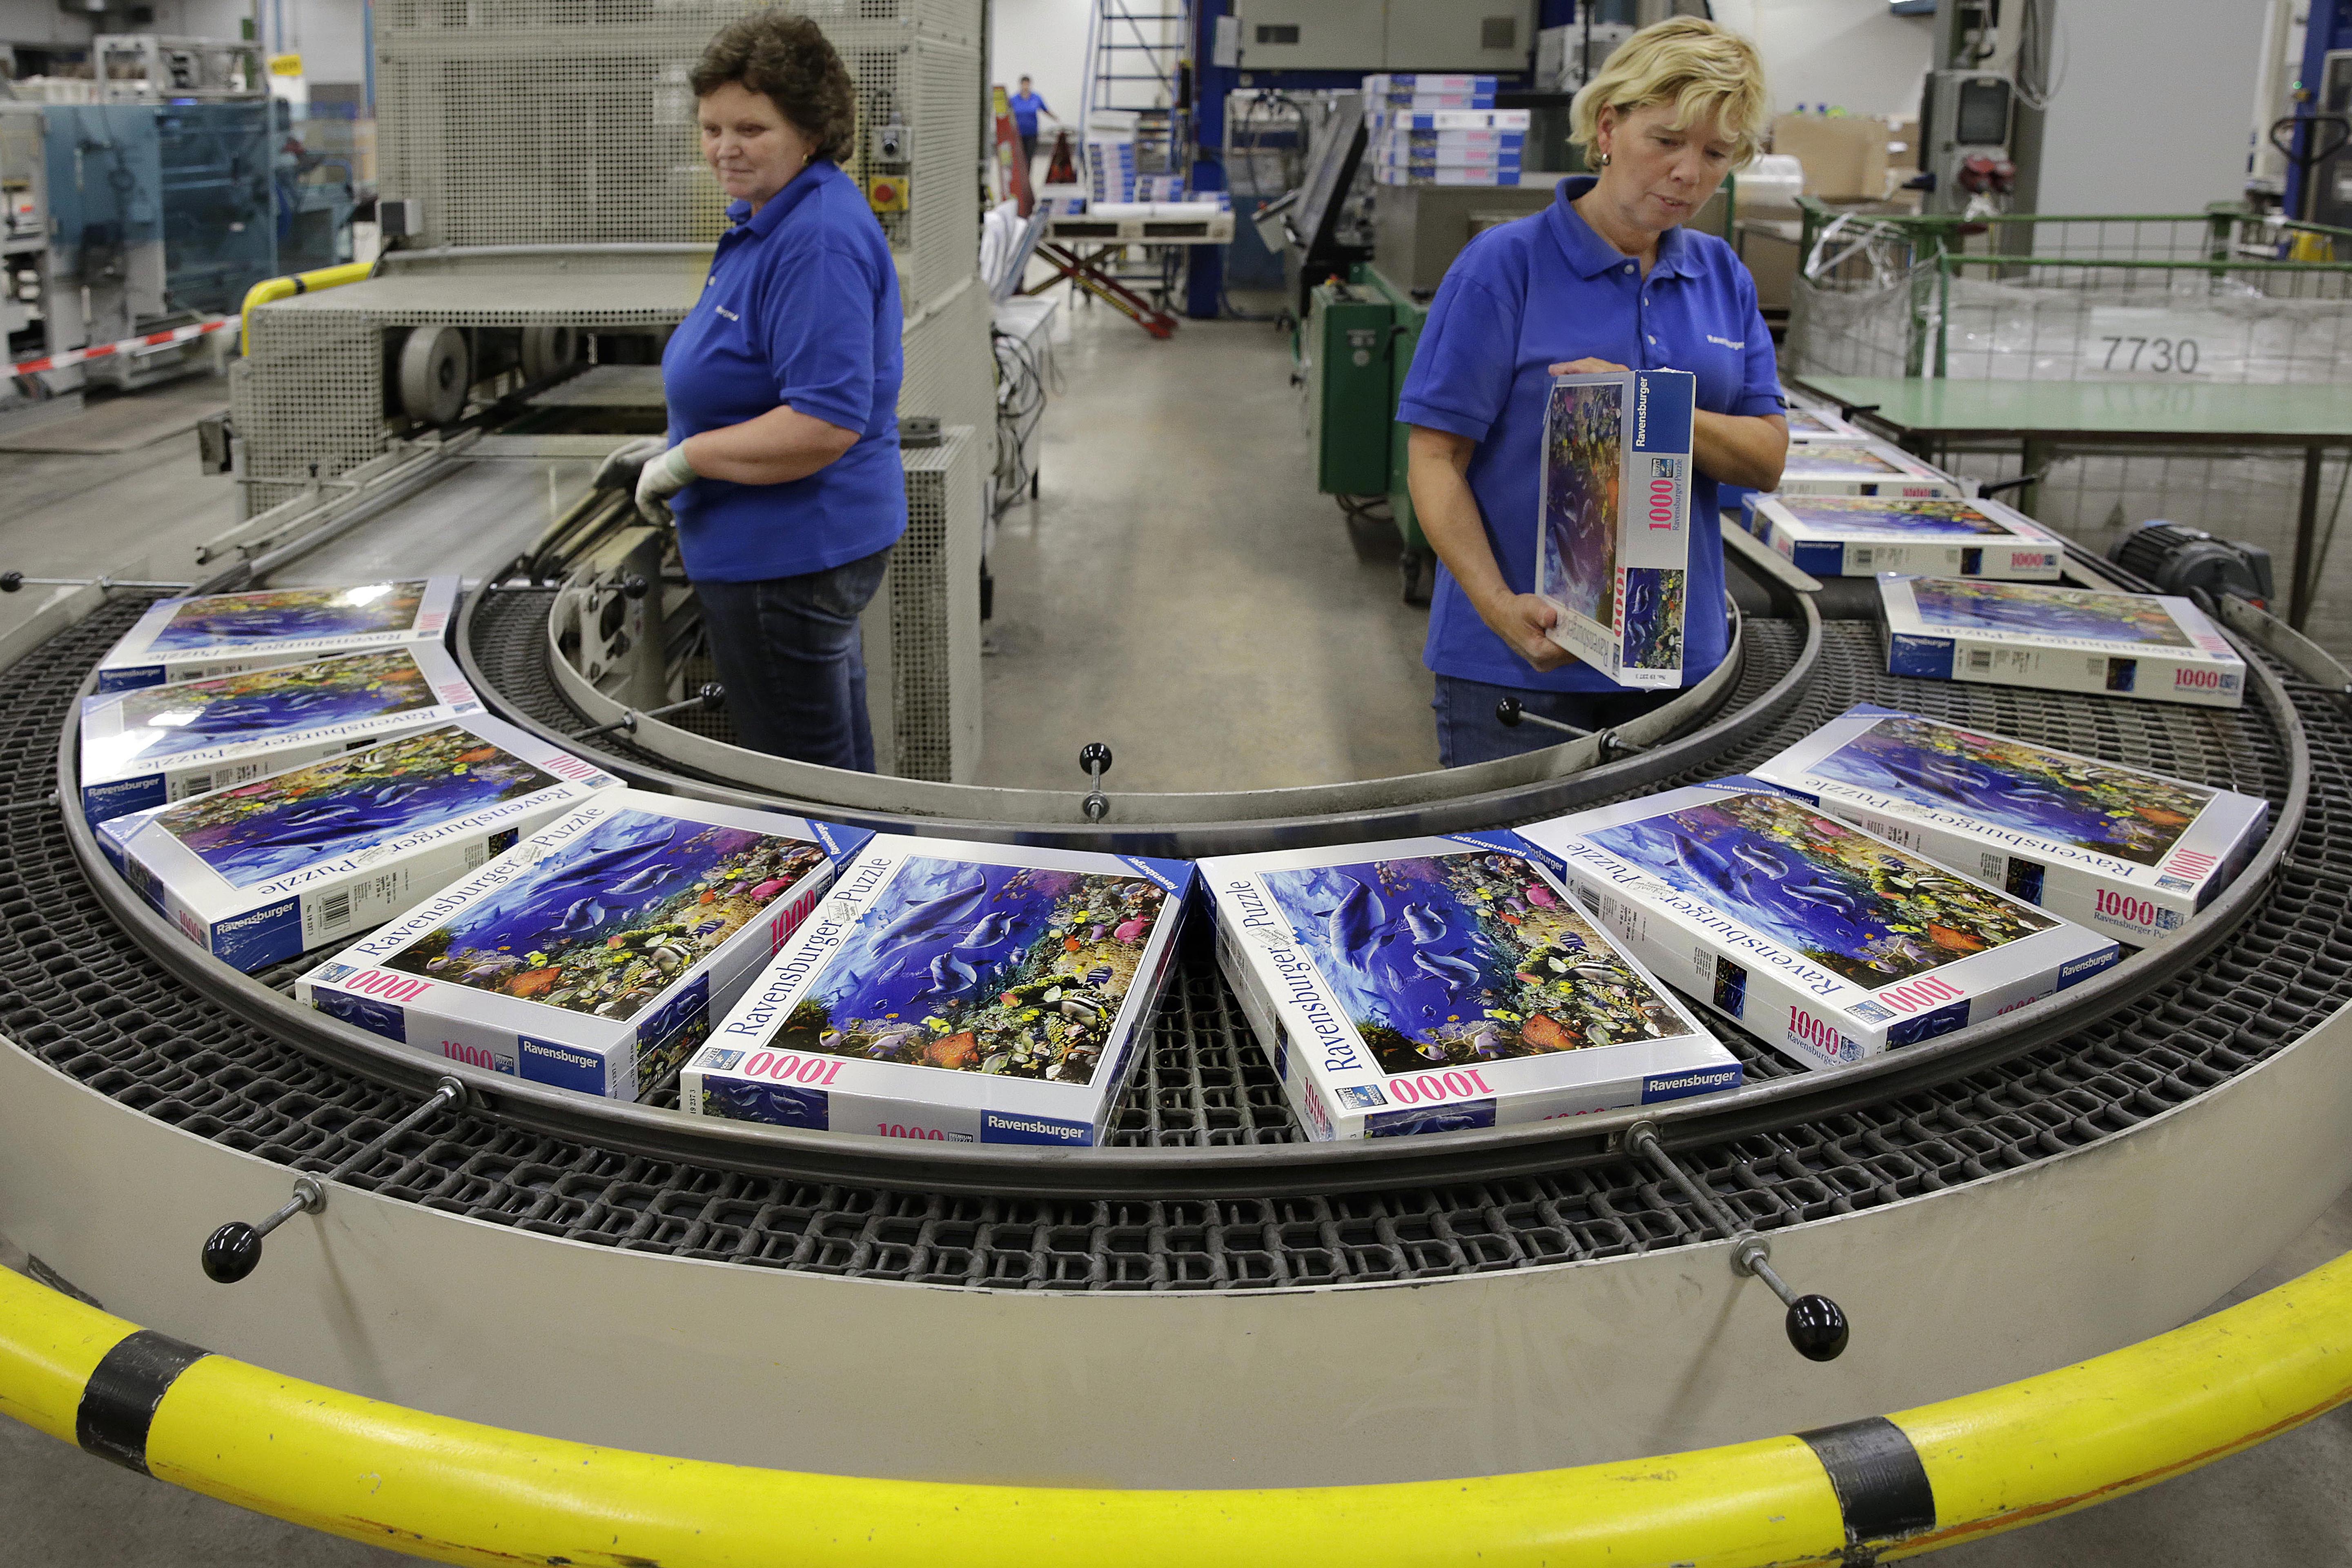
How a Puzzle is Made?

A sneak peek into the production of a Ravensburger puzzle
id="trbo-below-fragment-0"
Have you ever wondered how a jigsaw puzzle is made? We are going to give you a peak behind closed doors of how our puzzles comes to fruition, starting in the office of our puzzle editor, to the printing process and finally to the quality check before shipping out to retailers and consumer alike.

Step 1: Selecting the Image

It all begins with our puzzle editors searching for the perfect puzzle image. Besides the picture theme itself, there are several elements that influence whether an image gets chosen by our editors. These include the image quality due to sharpness and deepness, the color brilliance, contracts as well as the amount of detail in the image.

Step 2: Image Corrections

When the right picture has been chosen, there are a few necessary changes to turn it into a perfect puzzle image. Modifications to the colors and contrast are most common. The result of these changes not only create an appealing image, but also helps create an image that is easy to puzzle.

Step 3: Printing the Image

Once the image has been edited, we begin the production process. The next step is to print the puzzle image using the offset printing process. All our puzzles are printed on special linen-embossed paper that we make ourselves, which helps minimize light reflections and glare on the puzzle.
id="trbo-below-fragment-1"

Step 4: First Quality Assurance Check

After the first print runs, quality control examines the puzzle for any changes that need to be made before mass producing. If the first print run shows signs of incorrect colors or details in the image, quality control ensures colors are adjusted and all mistakes in the puzzle are corrected.

Step 5: Printing the Boxes & Second Quality Assurance Check

The same process is used for our boxes. We begin by printing the boxes. Quality control then examines the box top and bottom and make any necessary changes before approving the box for mass production.

Step 6: Laminate the Puzzle

The next step in the production process is to laminate the printed puzzle image onto the cardboard. Our blue cardboard is produced specially for us, offering a thicker and sturdier puzzle experience. To connect the paper sheet with the cardboard, our technicians use massive press roll machines that glues everything together using water-based, non-toxic adhesive.
id="trbo-below-fragment-2"

Step 7: Creating the Die Lines

To cut our puzzles into the desired piece count, templates need to be created that will eventually help our engineers create the steel punching tools. All our puzzle templates are hand-drawn and take on average about 160 hours to complete. This ensures that all our puzzle pieces are unique.

Step 8: Creating the Punching Tool

Taking the hand-drawn puzzle template as a model, the punching tool are built out of razor-sharp steel bands by our engineers. Using a fixed wooden plate, the engineers bend the steel bands using only their own hands and a hammer. To build a 1000-piece puzzle tool, it takes about 210 hours.

Step 9: The Cutting Process

After the punching tool is ready, it is then installed on one of our punching machines. The cardboard image is then inserted into the press machine by a technician and cut with the pressure of a few hundred tons. After the cut is complete, we now have a puzzle with individual pieces.
id="trbo-below-fragment-3"

Step 10: Third Quality Assurance Check

After the first cut is made, quality control conducts another round of examinations, looking for accurate cuts, any pieces stuck to the punching tool, or pieces that are still stuck together. If anything is found by quality control, the process is repeated until the puzzle is perfect.

Step 11: Bag the Puzzle

As the cut puzzle makes its way through the conveyor, the individual pieces are separated and guided into a bag using our automated machinery. The bag is then heat sealed and ready to be inserted into the box.

Step 12: Laminate the Boxes

Remember when we printed the box top and bottom? Now we are ready to laminate the printed box images onto the cardboard boxes. A machine begins by folding both the box top and bottom and laminates the box image to the folded sides. Every puzzle bag gets insert into the box bottom by hand.
id="trbo-below-fragment-4"

Step 13: Flatten the Bags

An employee then makes sure that all the inserted bags are pushed down and evenly distributed within the box. This guarantees that the box tops will fit perfectly and avoid uneven packing.

Step 14: Add the Box Top

To close the box, a special machine applies the box top over the box bottom containing the puzzle bag.

Step 15: Shrink Wrap the Box

After the box is closed, it gets shrink wrapped. This keeps the box safe during transportation and guarantees an original and flawless Ravensburger puzzle.


id="trbo-below-fragment-5"

Step 16: Fourth Quality Assurance Check

After one last quality check at the conveyor belt, the puzzles are then stacked on pallets to store them in one of our fully automated high-bay warehouses.

Step 17: The Puzzle is Finished

Starting in Ravensburg, the finished puzzles will make their journey to both retailers and consumers around the world.
id="trbo-below-fragment-6"

Check out some of our favorite Puzzle Articles!

id="trbo-below-fragment-7"
id="trbo-below-main-content"